Amiga 500 External Drive Fix
 As most people reading this would know ,the Amiga 500 is the low-entry version of this classic series of machines. Low-entry means low-cost and low-cost means bare-bones are far as including any extras go.
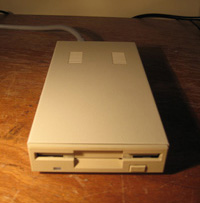
One manifestation of the spartan nature of the beast is the single 3.5 inch floppy drive built-into the unit. Given that Workbench 1.3 (the Amiga Operating System) takes quite a bit disk real-estate itself, a second external drive (seen opposite) was often one of the first Model 500 accessories bought by budding Amigans.
Many games came on self-booting disk but no one likes to play the floppy shuffle for serious computing.
Drive, what drive?
My unit came with a nice-looking slender external floppy disk drive. Mine had a problem though. Sometimes the Amiga would recognise the drive when it booted up but more often it would not! No drive icon would appear on the desktop and the drive itself would appear lifeless! As far as the Amiga was concerned, the drive didn't exist!
When this happened I'd take it apart, do a quick check the wiring and plugs, and reassemble. After this attention it SOMETIMES worked (if I was lucky), but only for one or two bootups. If I left the Amiga off for any length of time and then revisited, it would again be as dead as a doornail. *sigh*
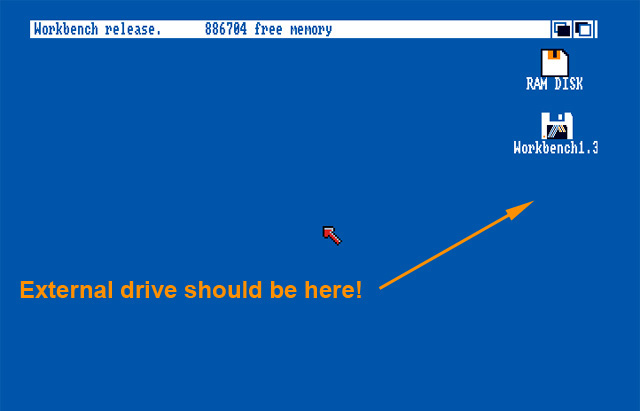
Figure 1. An Amiga boot screen showing where the attached external drive SHOULD appear
I detest intermittent faults! After putting up with this for about a year. I finally decided to have a REAL CLOSE look at the problem.
Disassembly, diagnosis...
These slimline Amiga drives are very low and compact. This looks good but it means disassembly requires some care as everything is crammed in tight.
After taking both the top and bottom covers off, and unplugging the drive from it's backplane, I put on my magnifying goggles and had a really good inspection of all components. Hmm...it all seemed ok.....except for....
At the back of the drive is an on-off switch. I'd now played with enough electronics to recognise a dry solder joint when I saw one; a very dull ball of metal that may not be contacting its pin as it should. The solder looked like what I've described on at least one of the switch lugs.
I could see nothing else wrong, and my hunch was that this could be the problem. Dry solder joints do cause intermittent faults. I fired up the soldering iron and reconstituted the solder, making sure it flowed neatly around the lugs. That done, I reassembled and tried the drive.
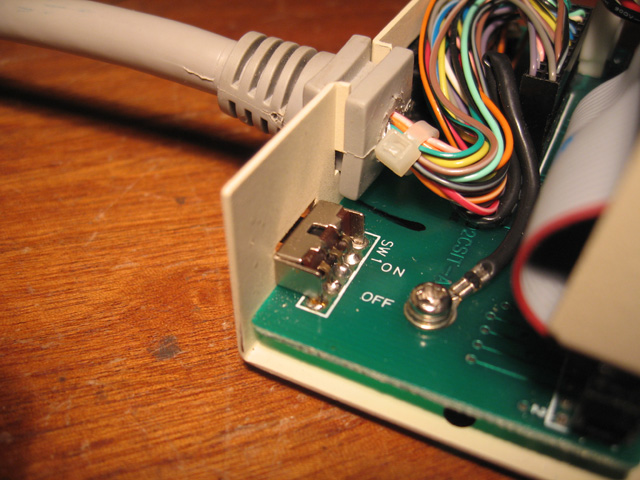
Figure 2. The faulty switch photographed AFTER solder was re-constituted
...and fix!
It worked....and kept on working. In fact, it now works every time I plug it in. Fixed!
Apart from the Colour Computer keyboard this is about the easiest fix I've ever done! Again, it goes to show that things can be put right with the simplest of repairs, once you know what might go wrong.
Reflection
Consider a dry solder joint, when you're next faced with an intermittent hardware problem.
Tez
2nd September, 2009
| Tweet |