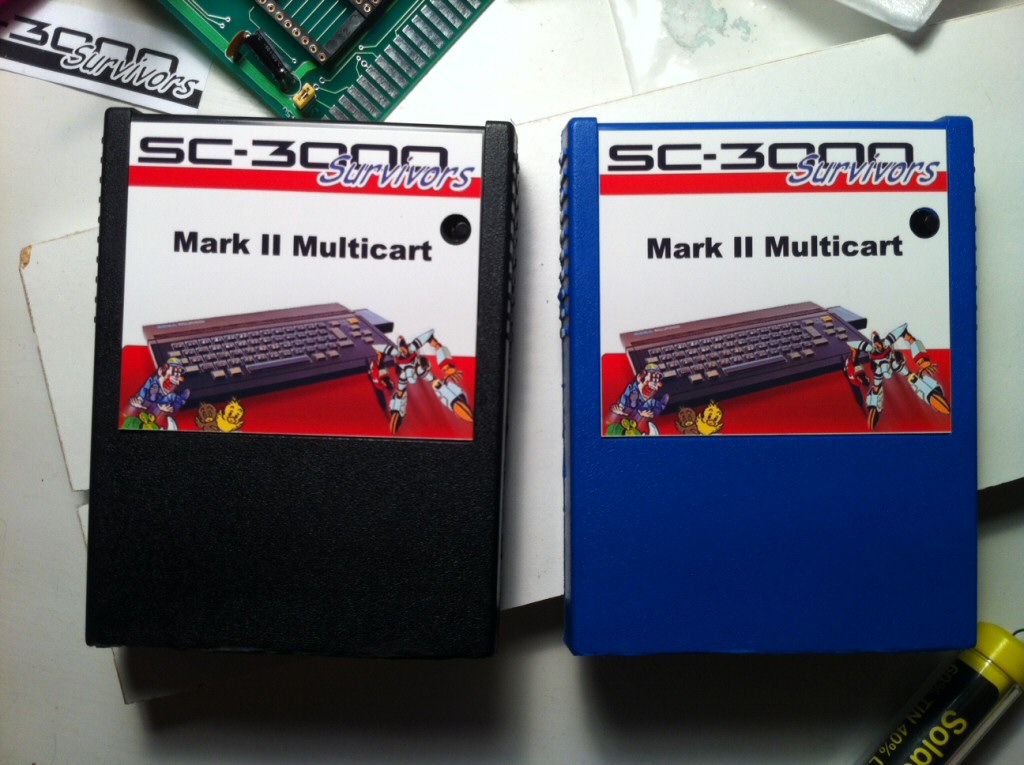
Just thought everyone might be interested in this little side project. Earlier this year I released a multicart for the Sega SC-3000. And recently I've been been working with a couple of people on releasing some new titles for the Sega SC-3000 / SG-1000 (hopefully we'll have something ready later this year - can't say too much about that yet, sorry).
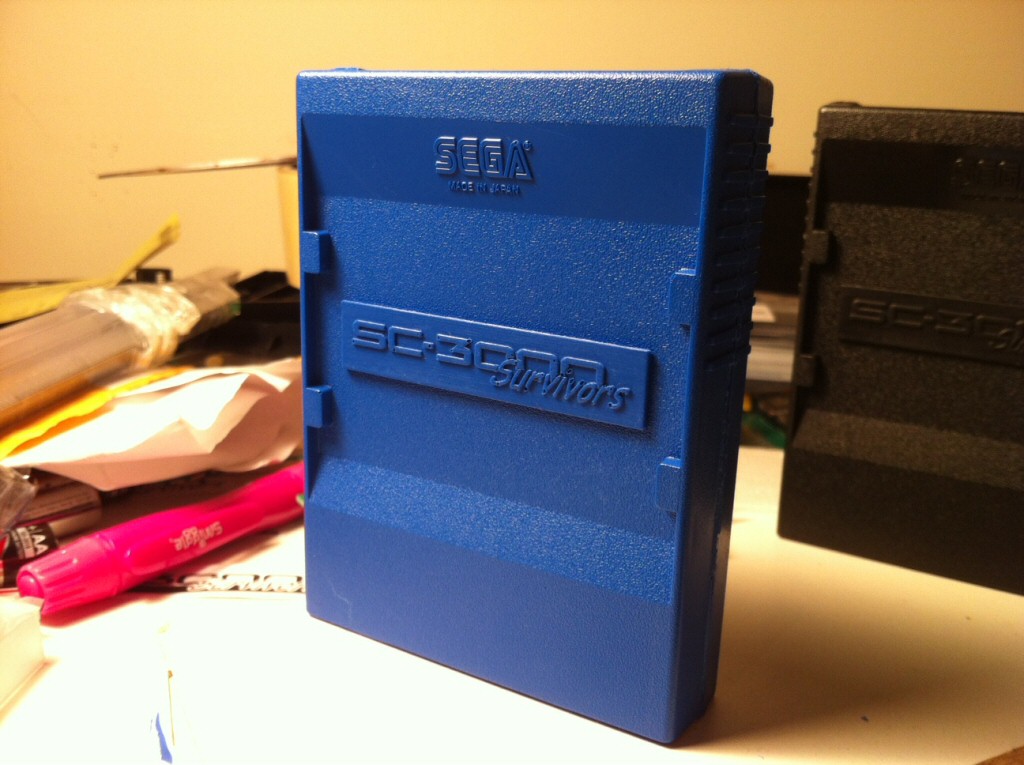
So in the meantime I've been looking at ways to get new cartridge cases for the games as it is a pain having to cannibalize an old games cart to house the new PCBs.
Injection molding costs around $2500 USD to get a mold made, then about $4000 USD for a run of 2000 cases. That ain't gonna happen
The cheapest option is probably to find a sympathetic trader in Japan to ship out a pile of cheap games that noone wants and cannibalize the cases. But that's no fun. And it still might work out to $10 or so per case.
3D printing is a *very* cool technology. You can do amazing things with it and there are now home 3D printers available for $500 to $1000 USD. But unfortunately commercial 3D printing is too expensive (approximate cost per case $65USD to $100 USD). The home 3D printers are cheap to run (approximately $5USD in plastic materials per case), but they are slow in high detail mode and the quality and consistency are a bit hit and miss.
Check out the http://www.solidoodle.com Solidoodle 2 and the http://makibox.com Makibox to see how open source designs and crowd funding are being used by small entrepreneurs to bring affordable 3D Printing to the masses. I know there are lots of RepRap projects around, but these are two cool examples of trying to make 3D printing much cheaper and easier. And if you need a 3D model prototyped in NZ, give Protobuild http://www.protobuild.co.nz a try. They were very helpful with my silly questions about whether 3D printing would work for this project or not.
So, I decided to give moldmaking a go. I went over to Topmark Products http://topmark.co.nz in Ellerslie last week and picked up a pile of stuff. They provide a lot of product to the film industry including the Hobbit and Spartacus. But they are also used to helping out hobbyists and artists and sculptors, so they cater to a wide range of people. They were very helpful and gave me some good suggestions - many thanks to Gabrielle and Alastair for their assistance.
I'm making good progress. It isn't difficult as such, but it does require practice. And it definitely pays off to think carefully about your mold design before you start as the Pinkysil silicon is relatively expensive. The total cost isn't too bad, although I've spent about $250 on getting set up (cost per casting will be approx $4-$6 of resin).
I started off with a test mold of a small thin walled pot to practice how to make a squash or plug mold and make my mistakes on a smaller scale. Plug molds are good for casting thin walled objects like the cart case. The mold was fairly easy to make. I only had a couple of stuff ups there like leaving out the air vents (I had to cut those in later with a scalpel). It took me half a dozen goes before I made a decent cast though. But it was well worthwhile.
As of now, I'm halfway through my making the real mold of the top half of the cart case. My impressions at this stage are that resin casting is a hard way to make any volume of these things. But I'll hold my final opinion until I've finished the first real mold and made a few casts. The EasyCast resin I'm currently using sets in about 30 mins and it tints up quite nicely. I'm not sure if it will be rigid enough though until I've made my first real casting.
I'm making YouTube vids as I go in case anyone else is keen to try this in future.
Part I - Overview, the tools I'll be using, the test mold and test casts, and the setup for the first real mold
http://www.youtube.com/watch?v=TJD4ZeVzn3s
Part II - Mixing the Pinkysil and pouring the mold
http://www.youtube.com/watch?v=Q_jy6Rr9jHU
Part III - first half of mold has set
http://www.youtube.com/watch?v=MgSXVr9K0us
Part IV - first half of mold greased up with vaseline and the box mold reformed ready for pouring second half of mold
http://www.youtube.com/watch?v=_ad_pwYg2dQ
Cheers