Repairing and Restoring an Apple II+ (Europlus)
Of all the Apple computers gifted to me in the Apple "job lot", the Europlus was the one I most valued. Dated 1979, it was the oldest machine and it also had the greatest classic status. That said, it was probably the most damaged internally of all the computers excluding a couple of the RX-8800 units. Like the cases of the latter, mice had found the Europlus warm and snug, and the circuitboard was full of mouse droppings and nesting material.
After removing the case and brushing down the circuit board to get rid of loose trash, I plugged it in and switched it on. No picture as expected, but the power supply seemed to work. What's more it didn't explode.
I figured that was a good start. (-:
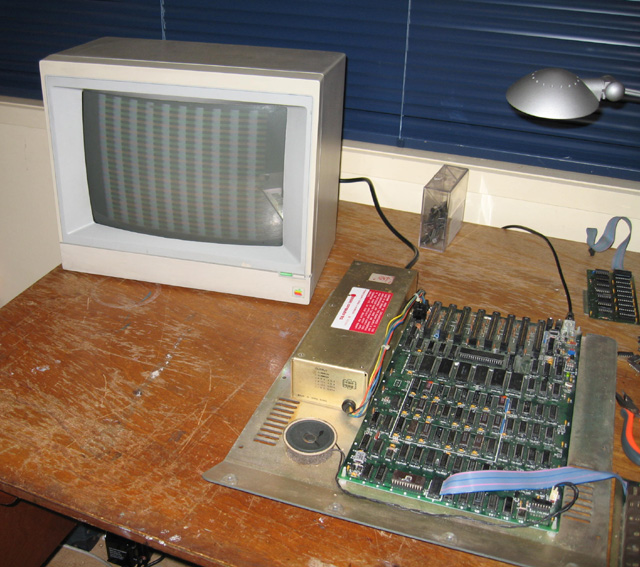
Figure 1. Non-working Apple II+
Everything was grubby so cleaning was the next task on the agenda. The case and keyboard went in the dishwasher, and the circuit board minus its IC's did too. I wasn't brave enough to put the power supply in as well, so I cleaned it up the best I could with a brush.
The dishwasher did a good job, at least in regards to the external appearance. Here is the result after a heavy-duty cycle.
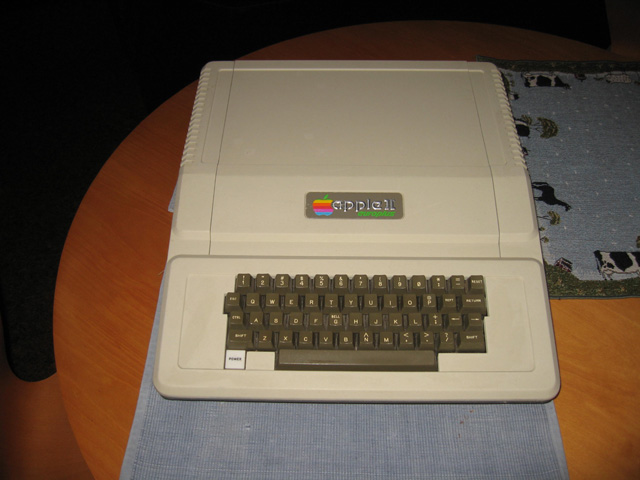
Figure 2. Case and keyboard after dishwasher treatment
When removing the IC's for cleaning the board, I noticed some had very rusty legs. I put these aside and replaced them with better-looking chips from the other spare clone units. Unfortunately when removing the AppleSoft Autoboot ROM a couple of legs snapped off. These legs on these ROM ICs were very corroded. Obviously the mice had spent a lot of time over this area!
Although I had spare clone ROMS, I didn't want to use these in the Apple II+. I wanted that "Apple ][" boot up title, not the "Go Ready" of the clones! That being the case, I bit the bullet and ordered a full ROM set from the U.S. It cost a few bucks, but that's the price you pay to get close to authenticity. I say close to authenticity, because even these ROMS are EPROMS, and although they contain a copy of the original ROM code, they are not original Apple ICS. I also ordered in a few other chips not duplicated in the clone machines in case they were also faulty.
When the ICs arrived, I did the usual IC substitution procedure with a working clone. This revealed a few faulty RAM chips, and a non-working CPU! Luckily I had spares. The photo below shows the new ROMS in place on the circuit board. (Update: Due to an incompatibility with the 16k language card these ROMS have now been replaced by genuine Apple ones.)
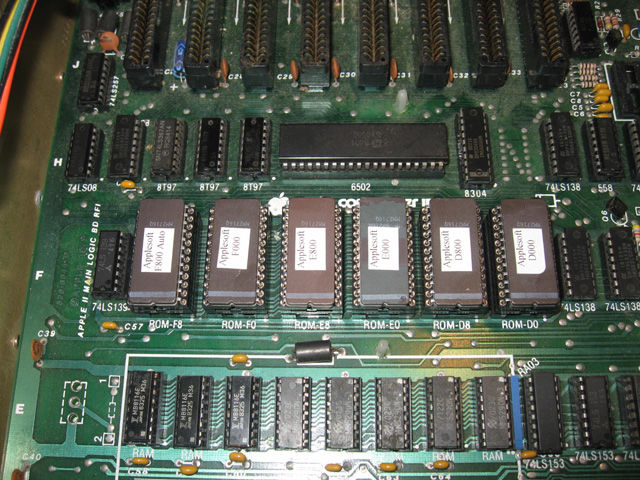
Figure 3. New ROMS in place on the II+ circuit board
Eventually after replacing the CPU itself, I managed to get characters on the screen.
They were not characters I expected. The letters seemed reversed somehow, and missing one side? As someone from the Vintage Computer Forums pointed out, It looked a little like Klingon!
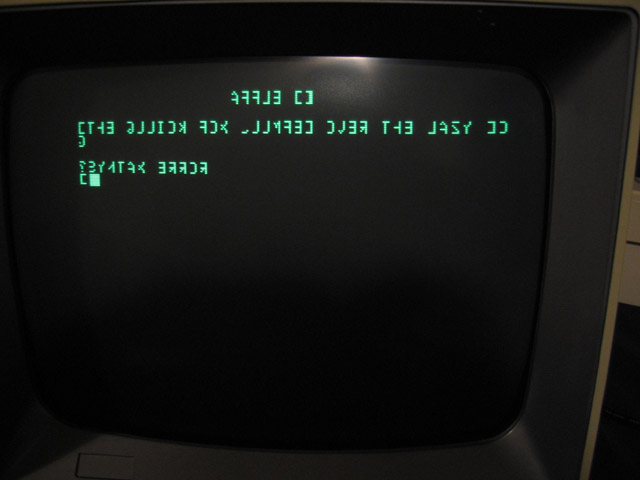
Figure 4. Klingon?
This was puzzling. The obvious candidate was the character generator ROM, but I'd swapped that with a working clone and it seemed fine. After a few hours trying to figure this out, it struck me that it could be the character generator after all. When I first removed the ICs, I'd put the genuine Apple character generator in the "dubious" pile as the legs were a little rusty. The character generators I had been using were all from clones. Maybe the clone ones were slightly different.
I fished out the genuine Apple II one, plugged it in and perfect characters appeared. Hooray!
Hooking the unit up to a couple of disk drives proved no problem. The machine booted perfectly. A RAM diagnostic test also cleared the memory of any remaining faulty ICs.
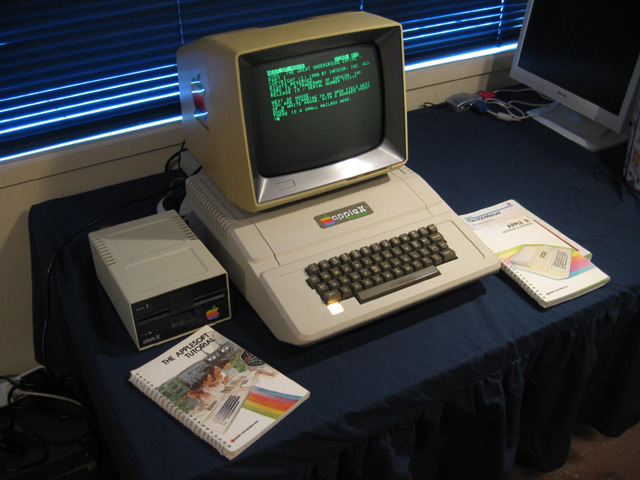
Figure 5. The restored and repaired Apple II+
It's now a valued member of the working collection.
Tez
Original: 26th October, 2008
Updated: 6th March, 2010