Fixing a RAM problem on an IBM-PC (IBM 5150)
Like people, old computers get cantankerous and unpredicatable. Even when you just leave them alone and ask nothing from them!
One of the jewels of my collection is my genuine IBM-PC, also know as the IBM 5150. This plain, unexciting machine with the big name ligitimised the microcomputer, made Microsoft the force it now is and changed the industry forever. It knows it's place in history.
An unexpected issue
Every now and again I like to give all my machines a workout. Just run them for a few hours to stretch their legs, loosen up the capacitors etc. When not in use the 5150 is stored in a large box with other boxes on top of it, so it can be a while before I get around to paying it any attention. Anyway, its day had come. I unpacked the beast, and fired it up.
I expected it to work flawlessly. Ever since I fixed the monitor and cleaned the disk drives, it had. Not this time though. There was one long beep, followed by two short ones. Something ominous appeared on the screen:
0400 201
then (in 40 column mode) the words "Parity Check 1" (see Photo 1).
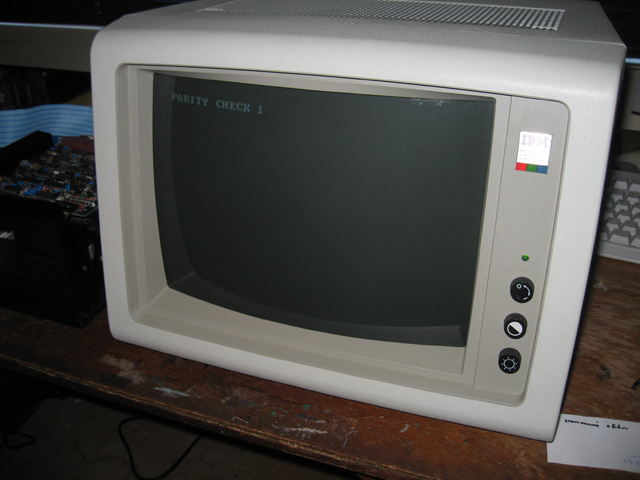
Photo 1. Error message during boot
Uh oh. Bugger!
Diagnosis
Naturally I was peeved about this. However, these sorts of random failures are part and parcel of owning a vintage computer. Eighteen months ago I would have been devestated but I now had enough experience to know these things are often fixable. It could be just an IC, perhaps (and hopefully) even a socketed one?
IBM-PCs have a very handy self-diagnosis routine when they first fire up. This is called POST and if the bootup fails, the POST beeps and error codes can give you a clue as to where the fault might lie. From a previous problem with my PS/2 I knew that the last three numbers (201) suggested a RAM problem. What did the first four digits mean though? It was onto Google to find out.
The first thing I came across was a posting on the Vintage Computer Forums, a place where I often hang out. Someone else had asked for help for exactly the same thing! The thread didn't actually reveal the answer, but "modem7" (a forum member) had posted a table showing the meaning of the codes! The part of that table relevant to my 64/256k board is reproduced here:
| 64/256K board ------------ 00xx to 0Fxx = Bank 0 (the XX indicates which chip [or chips] have failed) 10xx to 1Fxx = Bank 1 (the XX indicates which chip [or chips] have failed) 20xx to 2Fxx = Bank 2 (the XX indicates which chip [or chips] have failed) 30xx to 3Fxx = Bank 3 (the XX indicates which chip [or chips] have failed)
XX is something else indicates multiple chip failure, eg. 24 would indicate bit 5 and bit 2 failure. |
It was the same modem7 that helped me decipher this code when I revived that same thread. It seems the machine was telling me the problem lay in RAM bank 0, in the Parity Chip. That made sense. The second message on the screen did say "Parity Check 1" after all.
However...the PC was giving me mixed messages. The beep code (long---short---shot) indicated a problem with the video? Weird?? The video seem to be behaving normally so why would it do that? More Googling revealed another forum posting with a similar problem. Codes indicated a RAM problem and beeps indicated a display problem. That poster had repaired the RAM and this fixed the machine. He had thrown away the graphics card though, assuming it was faulty (I wonder if it was?).
There was some doubt as to the fault therefore. How could I be sure then that it was THAT parity IC and not some other problem? Unlike the other banks, the RAM on bank 0 was not socketed, but soldered to the board (photo 2). I didn't want to remove and desolder that chip unless it really was the problem.
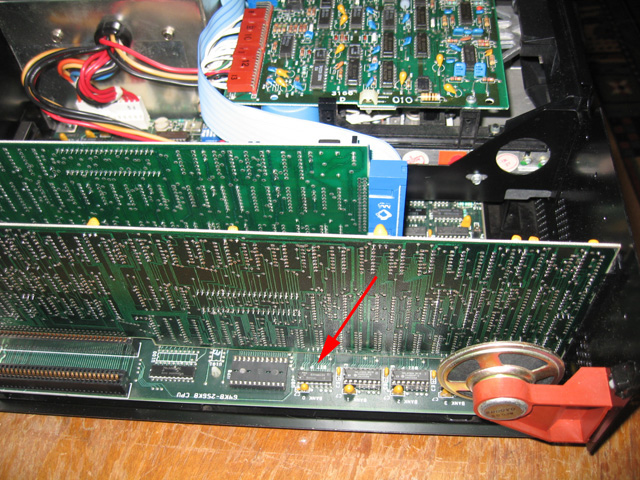
Photo 2. The suspected faulty RAM chip
My Osborne 1 had revealed its faulty RAM when I piggybacked a good RAM chip on top of it. It's an old hardware hacker's trick, although it doesn't always show up bad RAM. Still I felt it was worth a go. That raised another issue though. Did I have a spare RAM chip to test with?
This IBM-PC took 4164c RAM. That sounded familiar. I remembered getting some RAM to repair my Commodore SX and I was sure the type was something like that. I hauled out the spares and sure enough, they were exactly the same type of NEC chips. Yay! I piggybacked one on the suspect IC, held my breath and threw the big read switch.
The fan went on...then nothing happened.
Nothing was happening because the computer was going through it's diagnostic checks successfully. Next thing, it looked for a disk (which I hadn't bothered to insert), then defaulted to BASIC. Just like it was suppose to do (Photo 3). Diagnosis complete!
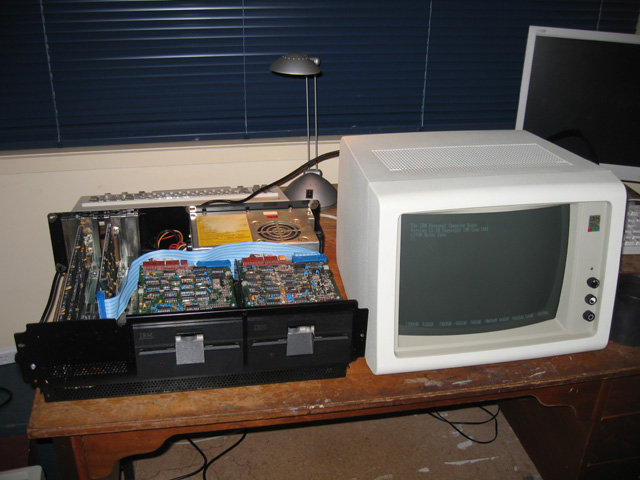
Photo 3. Full error-free bootup to Cassette BASIC
Replacing the IC
The next day I set about replacing the IC. Although I'd done a few of these now, I still approached this with some anxiety. I would never get another IBM-PC board in New Zealand and if I damaged the tracks, that was it. Curtains! It felt like I was defusing a bomb...I took it very slow and steady.
One thing that helped with this was these (Photo 4). With this kind of exacting work, you NEED better then normal vision!
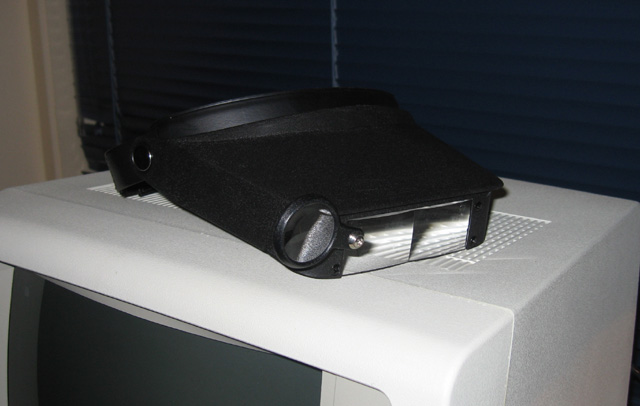
Photo 4. Headgear for the "vintage" computer repairman
First I had to remove the planar or motherboard. This was easily done. Two screws held this in place and once removed I could simply slip the board out sideways to the left. The planar was smaller than I'd expected for such a large and heavy computer (Photo 5). It only took up half the bottom of the case.
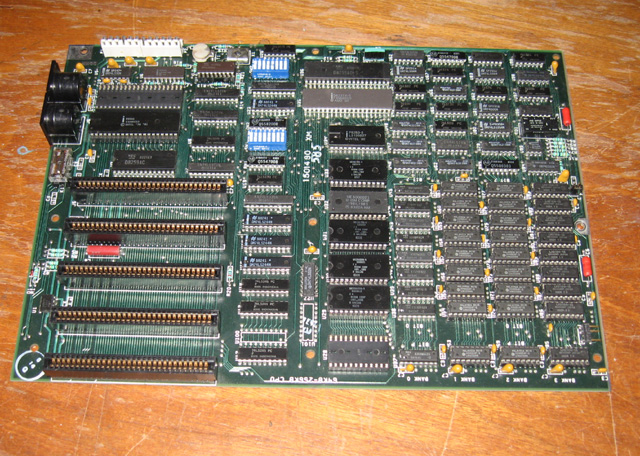
Photo 5. IBM-PC (5150) Motherboard (64/256k)
I clipped off the old IC, leaving the legs embedded in the board. Next I positioned the board on the vertical, and applied an iron to the bottom of each lug while pulling with fine-nosed pliers on the embedded leg on the other side. Removal was quick and straightforward.
Next I cleaned out the IC holes of solder using a fine wick. This procedure had the most potential for damage and I took it slowly and deliberately. After about 20-25 mins, it was all done (Photo 6).
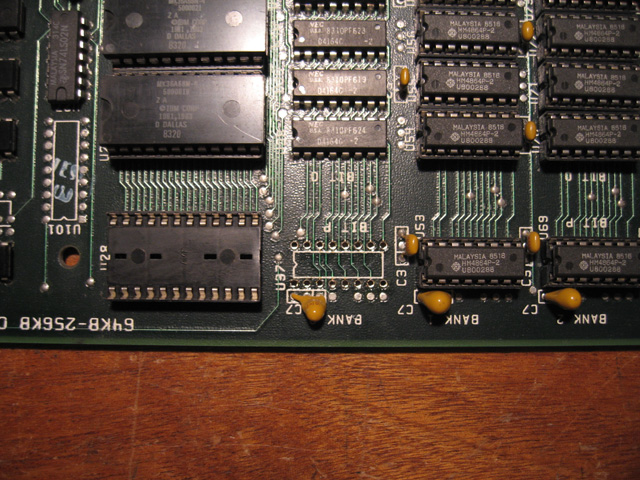
Photo 6. Parity RAM IC removed, awaiting a socket and new chip
Once the holes were clear, it was an easy matter to insert a socket, solder it in and plug in the replacement 4164c.
Sweet as...
Now for the test. The big red switch was flicked up again, the machine mulled over it's diagnostic routines for a few seconds then booted correctly as it always used to.
All fixed!
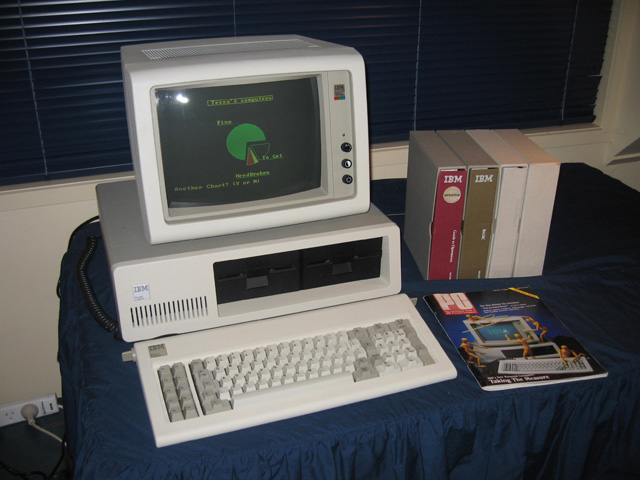
Photo 7. IBM-PC fully loaded!
All in all it only took a little over an hour to do this repair. I certainly could not have done that 18 months ago when I first started this hobby. Experience and confidence does wonders.
I still don't know why the beeps indicated a graphics board problem. There are no error beeps on startup now and the screen is working fine!?
Tez
18th March, 2009