Exidy Sorcerer BASIC ROM-PAC repair (Part 1) - Diagnosis
Introduction
My newly obtained Sorcerer was complete except for just one thing. The BASIC ROM-PAC was faulty! On boot, this manifested itself with nothing on the screen but a frozen cursor in the top left-hand corner. Bugger...
As Sorcerers were always sold with the BASIC ROM-PAC and some Sorcerer software was written in BASIC I decided it was a priority to fix this.
Diagnosis
Opening the ROM-PAC revealed things in pretty good shape, at least visually (Figure 1). There was no sign of corrosion at all. I noticed all 4 ROMS were socketed so the first task was to re-seat these. No change. My hunch was that one of these four 2k Masked ROMS had failed. Which one though?
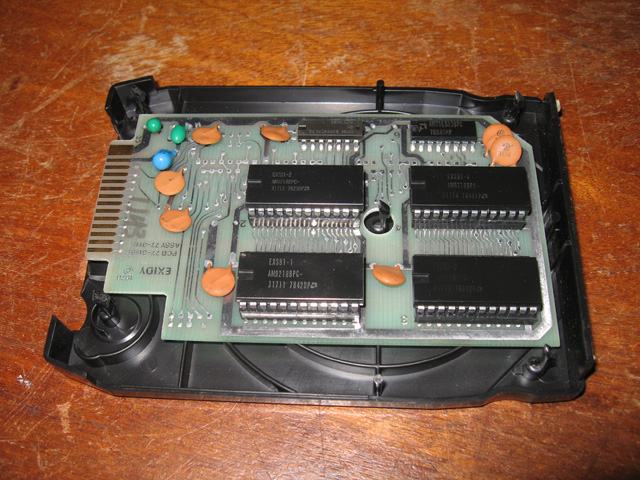
Figure 1. BASIC ROM-PAC - naked!
The Sorcerer has a built in monitor program. Using this, I could peer into areas of ROM to see the contents. Problem was the BASIC ROM-PAC autostarted the machine when inserted so I couldn't get to the monitor to use it. With the PAC inserted, the Sorcerer just hung when switched on.
Hmmm..maybe there was some way to disable the autostart by pressing some keys simultaneously? Time to reach for the technical manual.
Reading this revealed no magic key combination to stop autostart BUT it did show something else. One of the first things the boot code does is to peer into address DFFAH and DFFDH contained in the ROM-PAC Number 4 ROM and look for a jump instruction there. However, if it doesn't find it, it assumes there is no ROM-PAC inserted and continues onto the monitor program.
AH HA! This was the key I was looking for! I figured the answer was to REMOVE the number 4 ROM, plug in the ROM-PAC and boot. The machine would check ROM 4, find nothing and default to the monitor. I knew where the ROM-PAC contents resided in memory so using the monitor program I could then dump the contents of ROMS 1, 2 and 3 on the screen and look for anything untoward. I could then substitute one of those ROMS with ROM 4, and check the status of that one also.
ROM check
The procedure worked like charm! ROM 1 and ROM 2 looked ok, with "normal" looking hex values all the way through (Figure 2). These bytes matched those of corresponding ROM binaries sent to me, and found on the web.
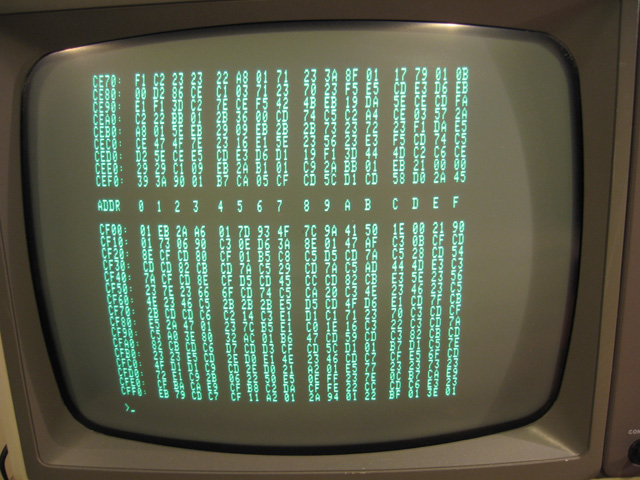
Figure 2. Typical values from the good BASIC ROMS
ROM 3 on the other hand, showed all zeros (Figure 3).
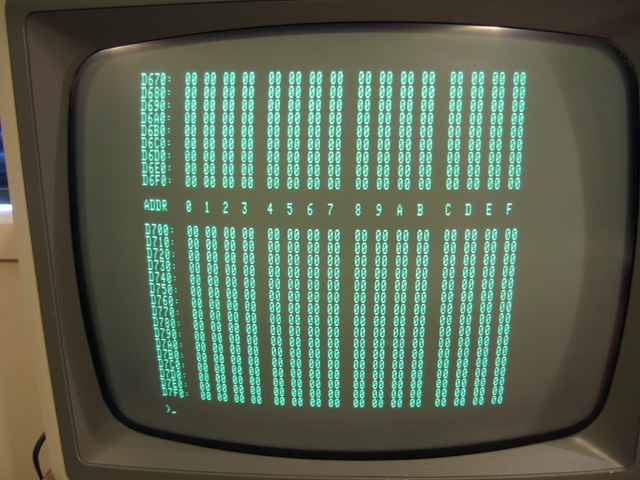
Figure 3. Values from BASIC ROM 3. Faulty!
A check of ROM 4 via substitution into the ROM 3 socket showed normal code proving that both ROM 4 and the socket on ROM 3 was ok. A faulty ROM 3 was the problem.
Diagnosis done, now the fix
For about a year I'd been sitting on a Willem programmer (Figure 4) my friend Philip Avery and I had bought together. I was not familiar with burning EPROMS but figured I would probably need to do it someday hence the acquisition of the device. The time had come! I decided to burn an EPROM to replace the failed mask ROM.
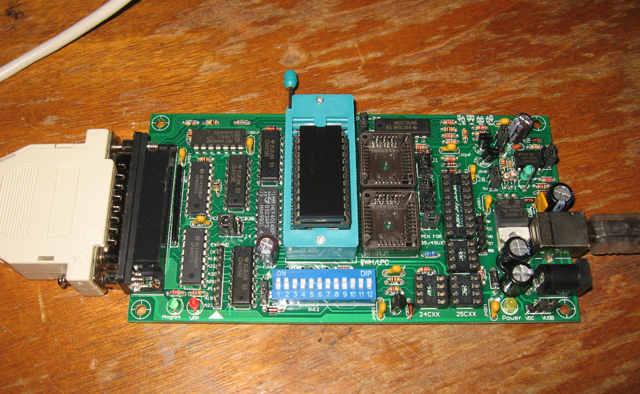
Figure 4. The Willem Programmer
Getting familiar with EPROMS
I was now on the slope of a steep learning curve. Once I started to explore the Willem though, it didn't take too long to figure things out. This dive into new territory was helped a lot by the guys on the classic computer mailing list (classiccmp.org) along with others on the Vintage Computer Forums. Much of the specifics of the procedures outlined below and in the next article came from them. Thanks guys!
I discovered I needed a 2716 or 27C16 EPROM to replace the 2k masked ROM. I was pleased to note the Willem unit supported the former. However there was a catch. Some re-wiring/jumpering would be needed. However, it didn't look too difficult. I ordered some 27C16 ICs from a fortuitous Trade Me listing and also an UV EPROM eraser from Hong Kong. As most of the 27C16s were used (and I might need more than one try at this), I'd needed the eraser to blank them before use.
Feeling confident, I decided to try to READ the faulty ROM in the Willem just to confirm my diagnosis with the monitor program. However, to read it successfully I had to fool the Willem into thinking it was reading a 2716 EPROM. The main difference between the 2716 and ROM-PAC masked ROM was what happens with pin 21. In a 2716 EPROM this pin is used to supply a voltage whereas in the Masked ROM it's a "chip select" signal. To read the ROM in the Willem this pin needed to be LOW. The solution was to make a small adaptor out of a socket. Specifically I disabled pin 21 by bending it out and covering it with tape so it did not make contact with the socket. This pin was then wired to ground (pin 12). The adaptor was soon soldered up (Figure 5) and the ROM-PAC ROMS read. The readings matched exactly what I'd found above. Diagnosis confirmed.
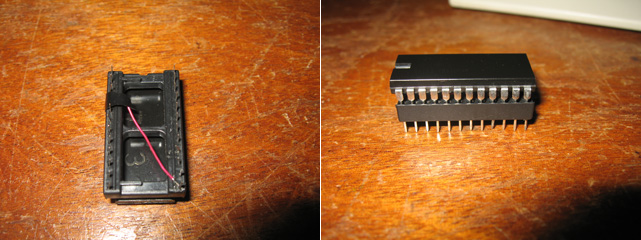
Figure 5. Rewiring a socket allows the Willem to read the chip as a 2716
Next Step
With the diagnosis confirmed the next step was to burn a blank 27C16 and then rewire my ROM-PAC. I tried the former with two blank EPROMS which had arrived by this time (along with used ones) but for some reason the Willem did not write the first byte correctly. I'm hoping that some tweakings will help.
The project continues in Part 2.
Tez
26th June, 2011
Updated 2nd July, 2011