Making Atari 520ST or 1040ST disks from disk images
Introduction
If you have found this page directly from an Internet search (as opposed to a link from my disk imaging introduction page) you have most likely missed some important information. Please click to READ THIS INTRODUCTORY PAGE FIRST. It explains some generic aspects of disk imaging and why, even if you DO have a good disk, it may not work.
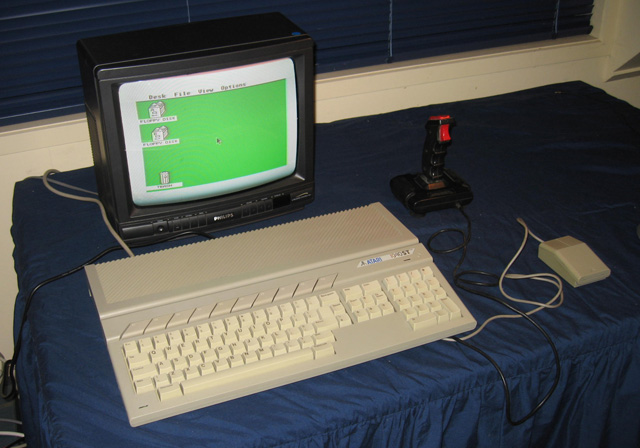
Figure 1. My own Atari 1040STFM
One thing useful about the Atari ST series is they have the basic operating system built-in so there is no need for a boot disk. Switching on the computer should reveal TOS, a derivation of Digital Research's GEM GUI. Also the disk format is not unlike MS-DOS so image transfer is relatively easy.
Here's how I did it.
Hardware Requirements
- A windows XP or greater PC with a 1.44 MB drive connected directly to the disk controller (i.e. NOT a USB one)
- A stack of 3.5 inch disks which match your Atari drive (i.e. double density for 720k drives or High-density for 1.44 drives)
Don't use a high density disk (the usual PC one) for an Atari ST 720k drive. Chances are it won't work, even if it's reformatted for 720k.
Software
There are two packages to use. First download and install fdrawcmd.sys. This is a floppy filter driver. Installation is quick, painless and (according to the documentation) it won't mess with your current disk drive drivers.
After that's done, download and install FloImg. Assuming you have found disk images you want to transfer, it's just a matter of running FloImg and following it's intuitive user interface. Easy peasy.
Last words
FloImg has a built in formatter which optionally formats your disk as it writes the image. However you can also do this in the command line interface in Windows XP/Vista/7 with the command format a: /n:9 /t:80 (assuming your drive is a:).
Have fun!
Tez
31st December, 2011