Apple Macintosh Plus checkerboard screen repair
Introduction
From time to time I make short videos on the models in my computer collection. A week or so ago it was time for the Mac Plus. This little beauty had recently come to me as part of a rescue package from a school. It seemed to work fine. Imagine my surprise therefore when I turned it on and saw this:
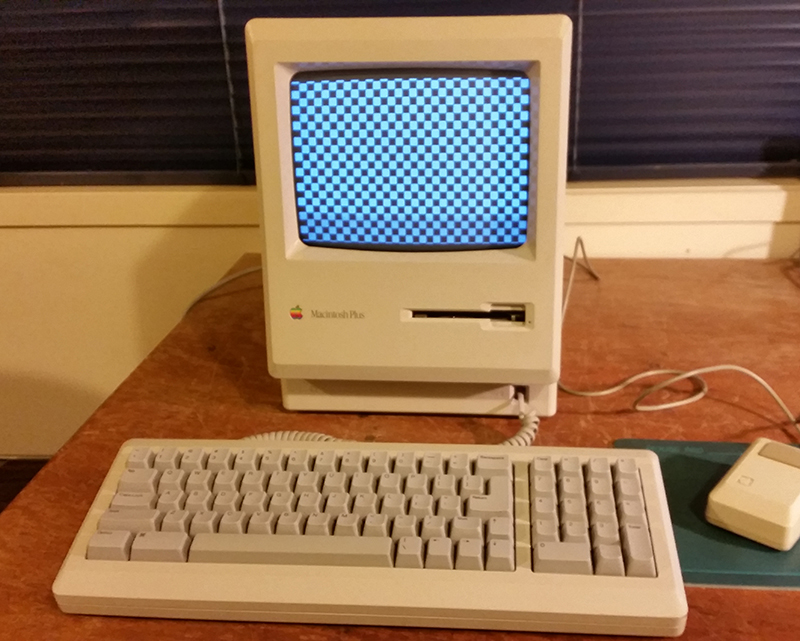
Figure 1. Something no-one wants to see. Fancy checkerboard on a non-booting Mac Plus.
What the?? Now if this was a LATER Mac I would have immediately diagnosed the problem as "those damn leaky barrel capacitors". Problem was, the Mac Plus doesn't HAVE that issue. Grrr...there was nothing for it but to pull it apart and see what might be wrong.
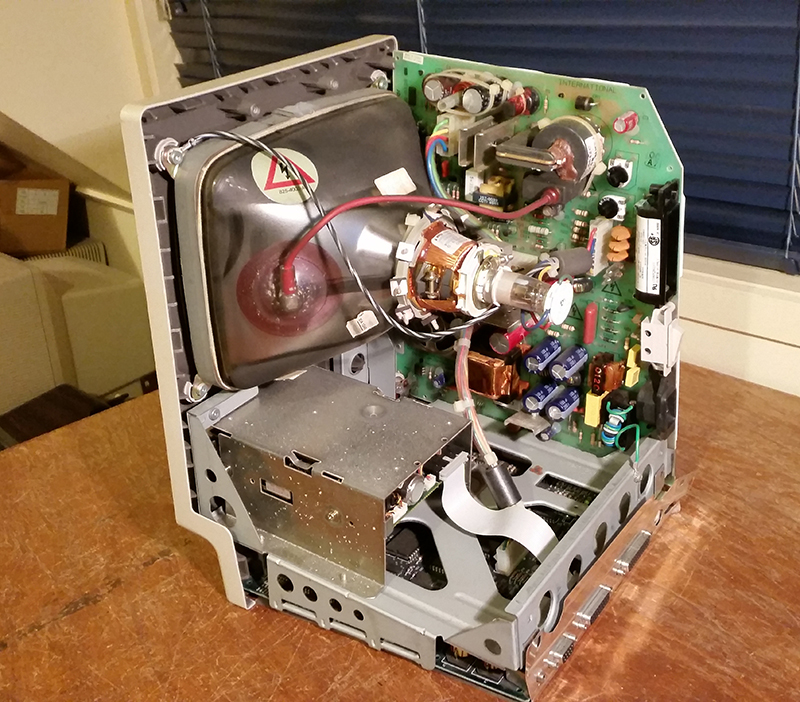
Figure 2. The innards of a Mac Plus.
Well, at least the video was working. My first thought was that maybe RAM needed reseating. Acting on this hunch I extracted the logic board and reseated the four RAM SIMMS after cleaning the contacts. Worth a shot but futile. The problem persisted.
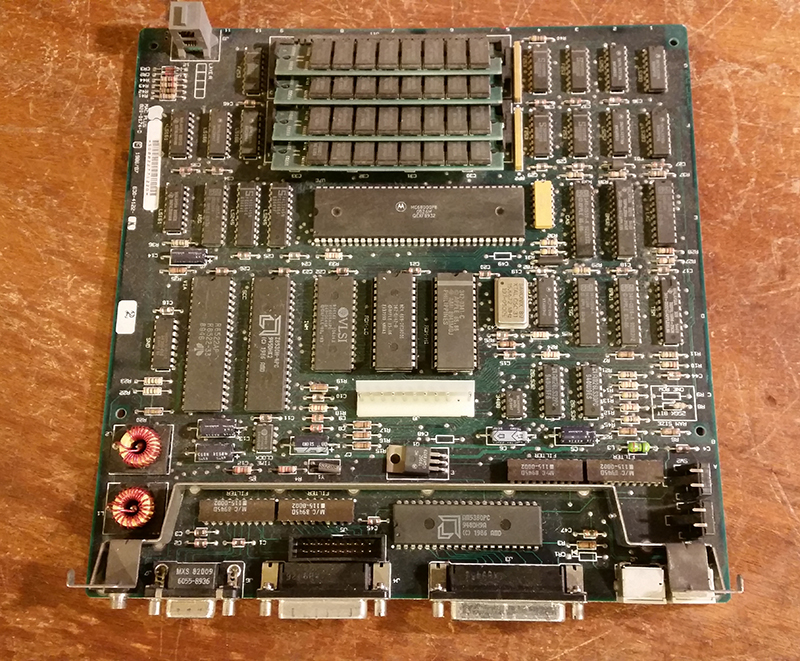
Figure 3. Mac Plus logic board.
Ok, time to do some reading. Among the various online resources was "Classic Mac Repair Notes" by Thomas H. Lee (2000 revised 2007). It didn't mention the specific symptom but it DID mention how the voltage can be checked from the external floppy disk port.
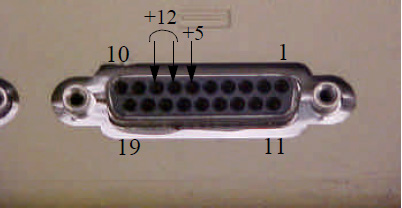
Figure 4. Voltages on the external floppy port (from T.H. Lee, 2000).
Voltages were checked and, lo and behold, the +12 volts that was suppose to be there was not! Hmm... The power supply circuitry was on the vertical analog board. I could find 12 volts no problem on there. Power was delivered from the analog board to the logic board through a big fat 11 pin cable. Could this cable or the cable connector (Figure 5) be at fault?
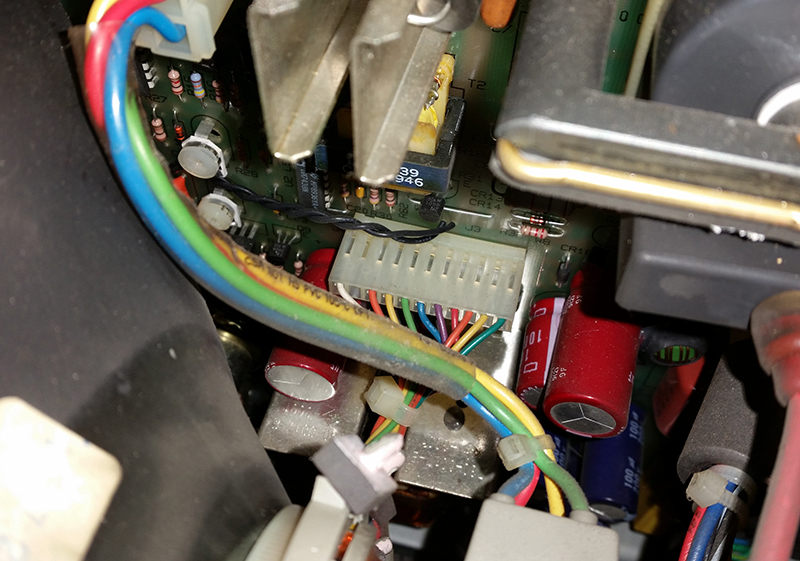
Figure 5 . Connector (centre of image) holding the analog board ---> logic board cable.
In Lee's repair notes he mentions the very common problem of hairline cracks/bad solder joints on the connector sockets on the analog board. Well, why not resolder these and see what happens? Using a little bit of new solder to get things started, I reflowed the metal so it appeared shiny and attached. In fact, I resoldered ALL the joints on ALL the connectors while I was at it, just to be on the safe side.
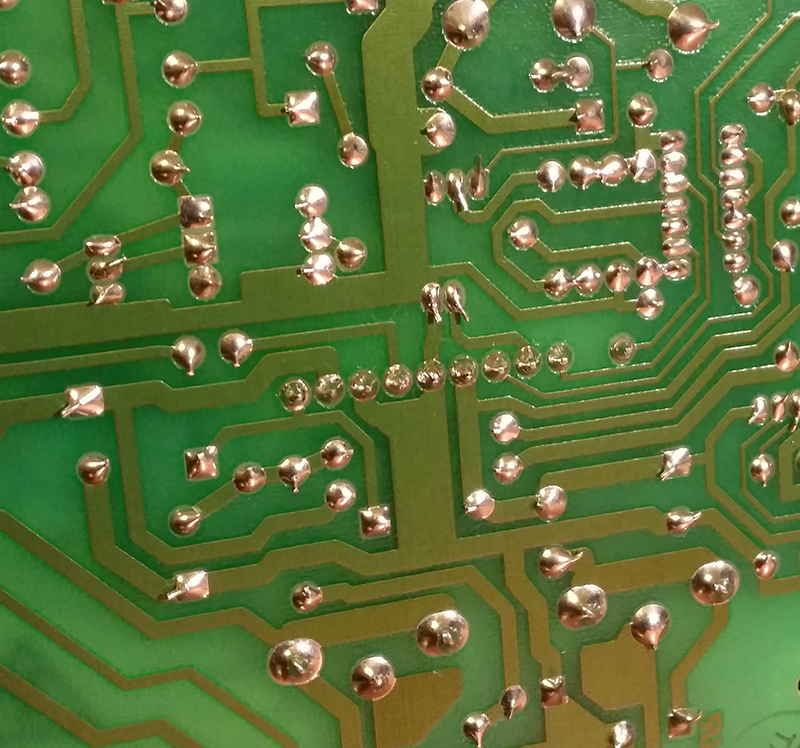
Figure 6. Resolded connector pins on the analog board for the analog --> logic board cable.
Once I'd done this I switched the machine on to test. Whaa??? This time things were ever worse! No video at all!
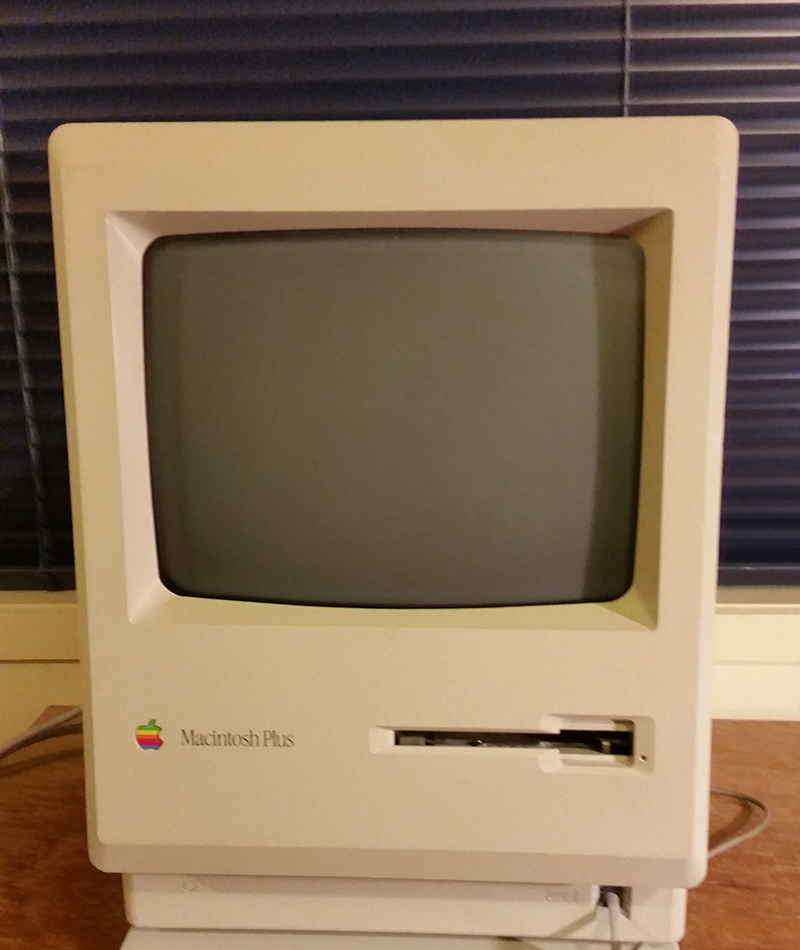
Figure 7. From the frying pan into the fire. From a checkerboard video to no video!
Actually things had moved sideways rather than backwards. At least now I could hear a "bong" and there was disk activity. With the computer on, I flexed the analog board a little by pulling on a corner. Ah ah! The video jumped back to life showing a System 6 screen, fully booted. Right, so it was still a dodgy connection somewhere. But where?
Very carefully (to avoid an unpleasant shock from the tube) I tugged on each of the cables which came off the analog board. Ah ha! The problem was associated with that analog -> logic board one..the one I'd first identified as problematic. Jiggling that caused the video to appear and disappear. Ok, so was it the cable or one of the two connectors? I had reflowed the solder so that should have been ok? Checking out the cable first by visual inspection, then with a multimeter showed it was fine. The connectors and plugs also looked in good health. What gives here?
One thing Lee's notes suggested was not to skimp on new solder when resoldering those connector joints. I again wondered if the fault could be with those pins holding the socket onto the analog board? Ok, time to repeat what I just did only this time I didn't just resolder. Using wick I got rid of all the OLD solder (Figure 8) and then completely covered those pins in shiny new stuff!
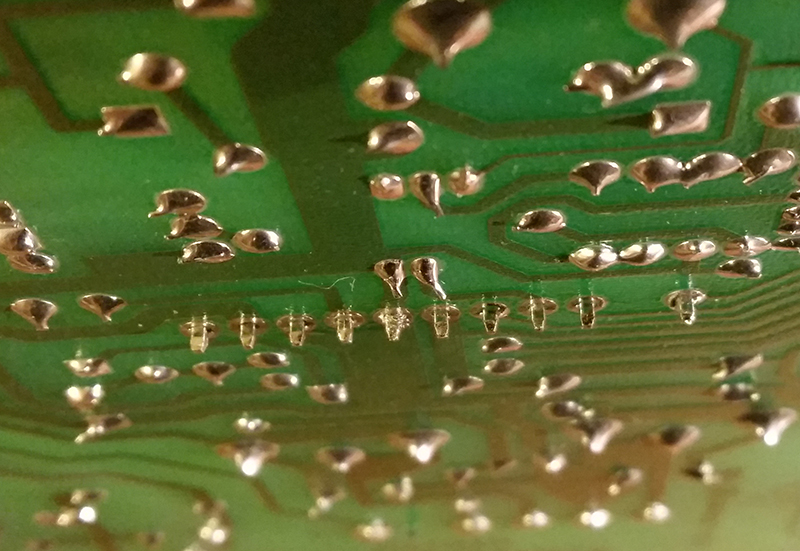
Figure 8. Connector pins minus old solder prior to receiving new solder.
Well, waddaya know. That seemed to work! Video now existed and the machine seemed in good working order. I used it for a couple of hours just to check stability. It was fine.
Problem solved. It was now time to make the video!
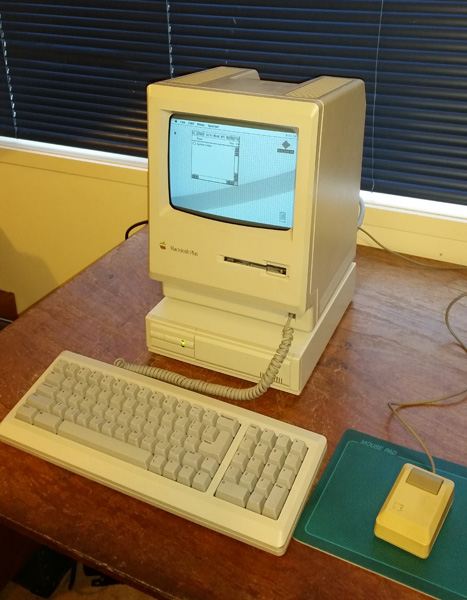
Figure 9. A happy Mac Plus
Final words
I learnt something from this repair. In the past I'd never worried about replacing solder. I'd just reflow it if I thought it wasn't connecting well. Seems there is a place for sucking up all the old solder and giving pins a totally new coat. It certainly worked in this case!
Tez
15 May, 2015