No video in an Apple IIe
Introduction
Every so often I go through my collection, checking the machines, ensuring they are working and in good health. Having just checked and repaired my Apple II+, it was time to turn my attention to my Apple IIes.
I've got three representatives of this class: an Apple IIe, an Apple IIe (enhanced) and an Apple IIe Platinum. The Apple IIe and Apple IIe Platinum checked out ok but the Apple IIe (enhanced) went for about 10 minutes then suddenly poof! The video disappeared. Yet another machine had failed after about a year's slumber!
This incident inspired me to write this satirical piece about testing one's collection pieces. I then got on with the job of trying to find out what went wrong.
Diagnosis and fix
I could boot the machine and hear the drive go through its normal machinations. The drive responded as it always had in self-loading menu driven programs where a keypress loaded a sub-program. I concluded therefore that the computer was largely working. It was just the video signal which was missing.
Naked boards are easier to work on than those in a case, so naked the Apple IIe became (Figure 1). I didn't need the keyboard. I just wanted to see if a video signal was present or absent.
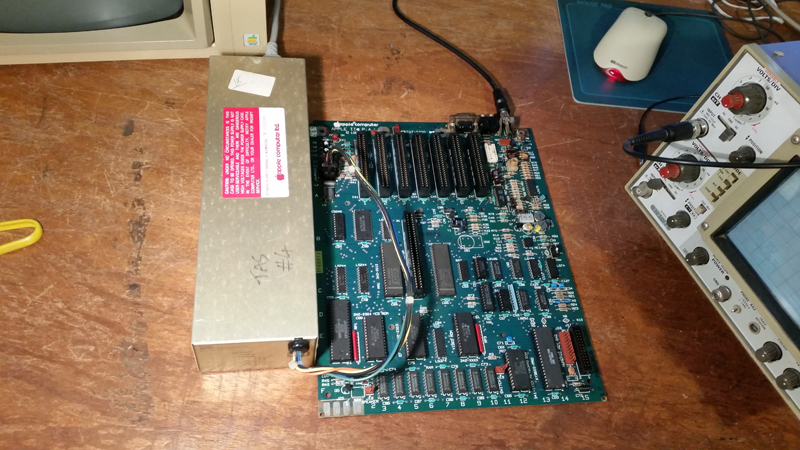
Figure 1. My naked Apple IIe (enhanced) minus keyboard
For this repair I used a document I found from somewhere on the web called "Apple IIe Repair Guide" written by Double Density. This resource showed all the suspect chips associated with no video.
Most of the chips in this machine were soldered in but not all. After checking the video cable was OK, I started by swapping out those chips which were socketed and implicated in a blank screen namely the video ROM and an 74LS10.
No change.
All other suspect ICs were socketed. This being the case I turned to the extremely useful SAMS Computerfacts for the Apple IIe and with scope at the ready followed the troubleshooting guide there. Eventually suspicion fell on 74LS166. I can't tell you why, as I haven't kept the diagnostic notes but I suspect one of the gate's outputs was not what it should have been.
I was fairly sure it was the 74LS166 causing the issue but the chip was soldered in. I could replace it, but if I was wrong it would have been a lot of work for nothing. How could I confirm my suspicion?
Faulty DRAM chips can often be identified by piggy-backing a known-good chip over the suspect one. I wondered if this also worked with logic chips? I figured it would depend very much on what was wrong. Certainly it wouldn't help with an internal short circuit but the suspected chip was not getting hot which is one of the signs of a short-circuit. If the logic chip was faulty and the fault wasn't a short, I couldn't see any harm in giving piggy-backing a go. So I did (Figure 2).
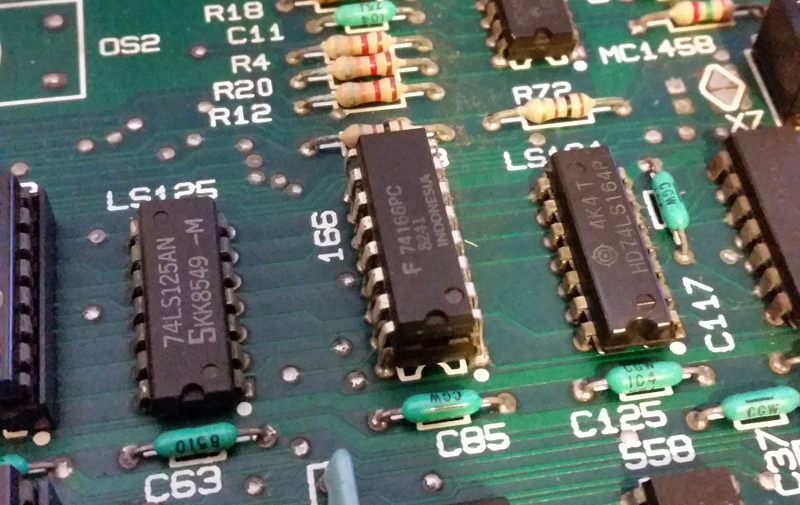
Figure 2. Suspected 74LS166 piggy-backed with a known good chip
Suddenly I had video (Figure 3). Yes! Diagnosis confirmed!
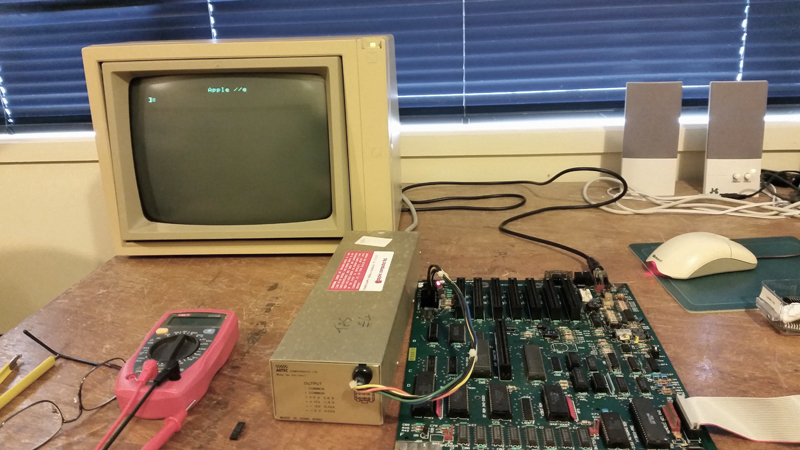
Figure 3. Video suddenly appears. In this case, piggy-backing a logic chip had worked!
This was good news but having confirmed the faulty component I now had to replace it. The first step was to clip the IC off the board. I did this by clipping each pin off close to the body of the IC. Once finished I was left with a row of pins (Figure 4). These then had to be removed.
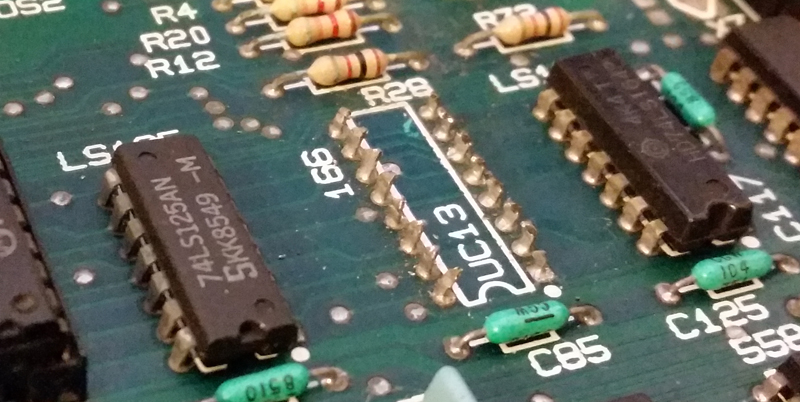
Figure 4. Pins remaining from the clipped-off IC 74LS166 chip
I extracted the pins one by one by heating them at their base while tugging on them with fine pliers, so the liquified solder would release them. Eventually all pins were gone (Figure 4).
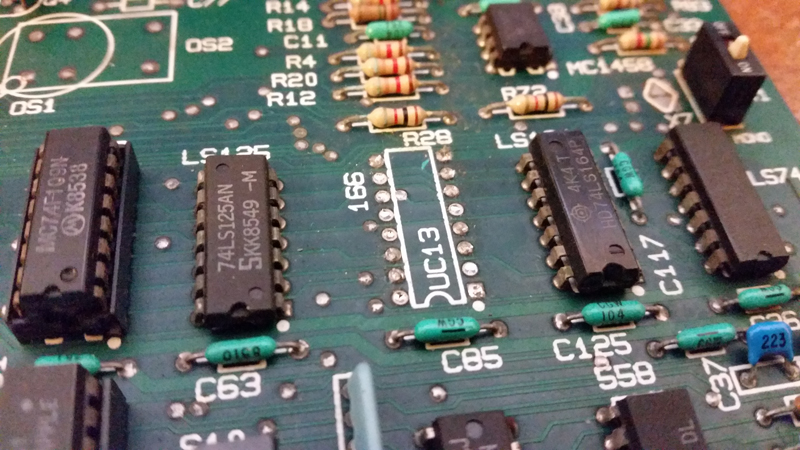
Figure 5. Pins are gone but the solder in the holes remain
The next step was to remove the solder from the holes. I used wick for this and soon had all holes cleaned (Figure 6).
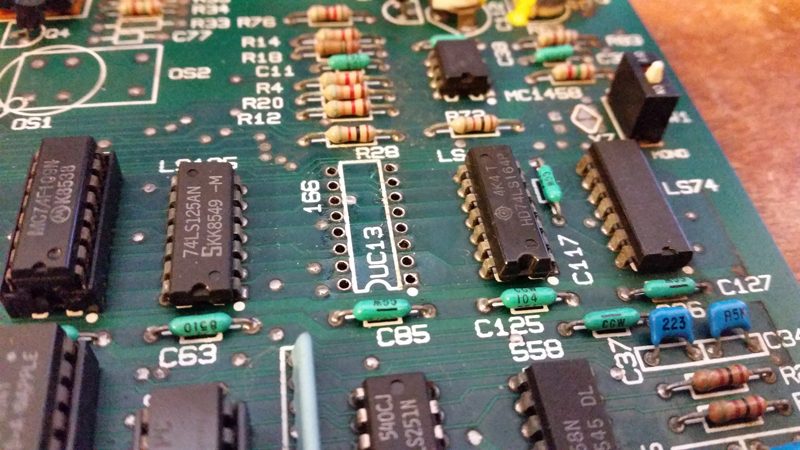
Figure 6. Motherboard now ready for a socket and replacement chip
Then it was simply a matter of soldering in a socket (Figure 7)....
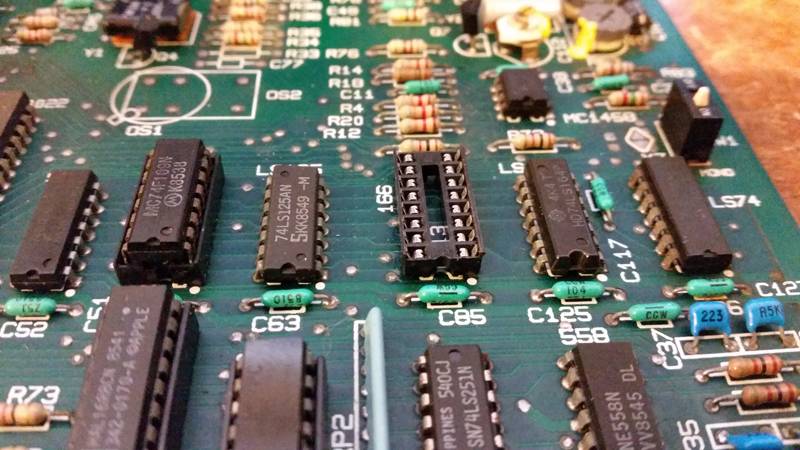
Figure 7. Socket soldered in
....and adding the replacement IC (Figure 8). Job done!
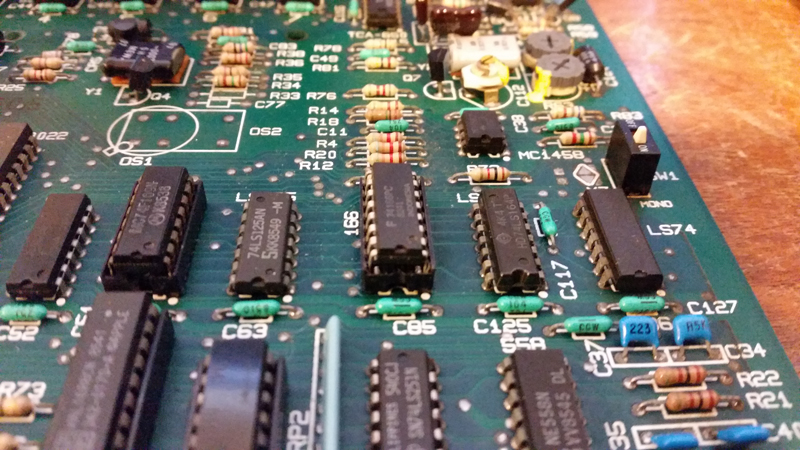
Figure 8. Replacement LS74166 in its new socket
The motherboard and PSU were then put back in their case for further testing (Figures 9 and 10).
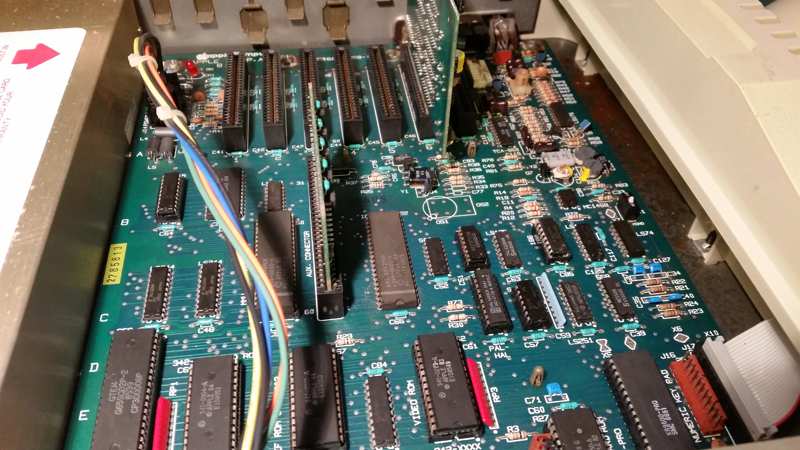
Figure 9. Motherboard (now working) back where it belongs
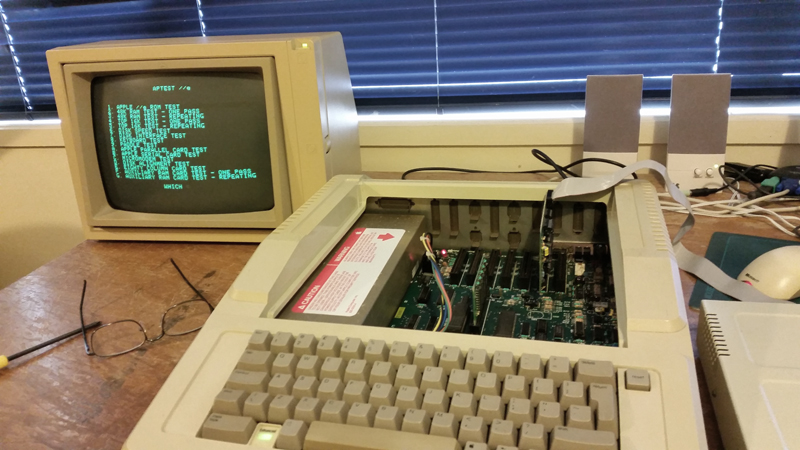
Figure 10. A comprehensive test using APTEST
A run through of everything with APTEST showed the Apple IIe (enhanced) was now stable and working as it should.
Reflections
Diagnosis can be relatively straightforward in a machine like the Apple IIe where there are limited ICs and very good diagnostic literature available. I'd never heard of piggy-backing a logic chip as a diagnostic technique though. I can imagine many circumstances where this would not work, but it did confirm the cause in this case. I'll bear it in mind as a technique in the future.
Now to continue to test the other members of the collection. Based on recent history I expect to be writing some more repair articles!
Tez
22nd December, 2015