New capacitors and replacement RAM breathe life into a Polycorp Poly 1
The problem
A few months ago I picked up a couple of Polycorp Poly 1s. For those that don't know the model, this machine is an important part of New Zealand history. In the early 1980s it had the potential to be the "BBC" of the educational sector here. That never happened, but it remains the only computer made and designed in New Zealand specifically for the education market.
Of the two machines I picked up, one worked and appeared stable. The other did not. It had made some alarming noises on switch-on so I'd put it to one side to look at it later. That "later" had now arrived.
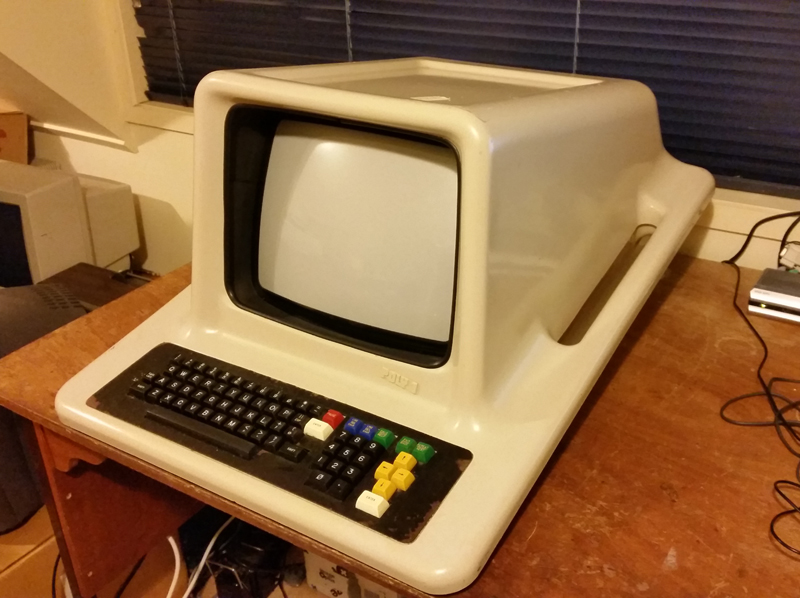
Figure 1. Poly 1. Black screen and scary noises on power on
Symptoms and diagnosis
Based on the ominous symptoms on initial switch on, I figured a capacitor might be failing. Removing the lid (Figure 2) and donning safety glasses I stood back and fired the computer up.
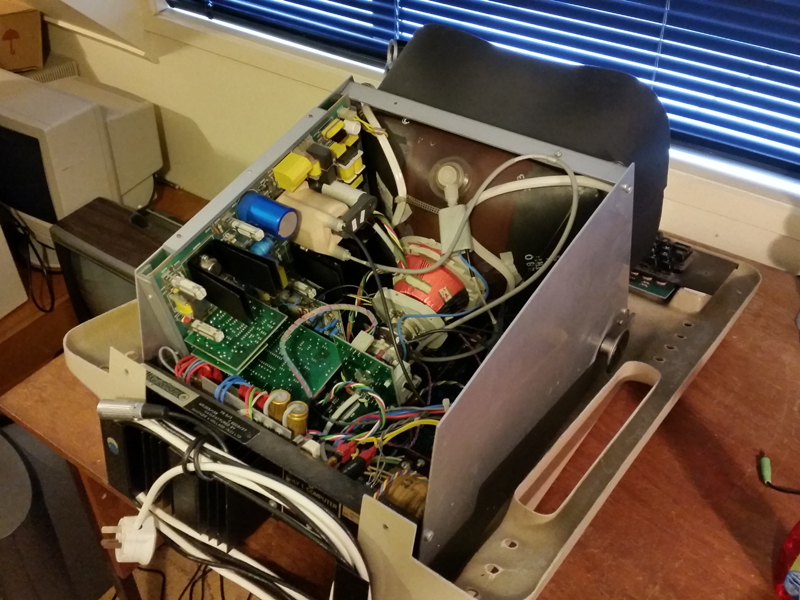
Figure 2. The naked Poly 1
I was expecting fireworks and I wasn't disappointed. There were cracks, spits and smoke. With the top off, I did see where it was all coming from though. It was from the right-most large electrolytic capacitor you can see in the photo below (Figure 3). When I looked closely I could see boiling (!), smoking electrolyte pouring out of the base of this cap and onto the circuit board. Very dramatic. I wish I'd videoed it!
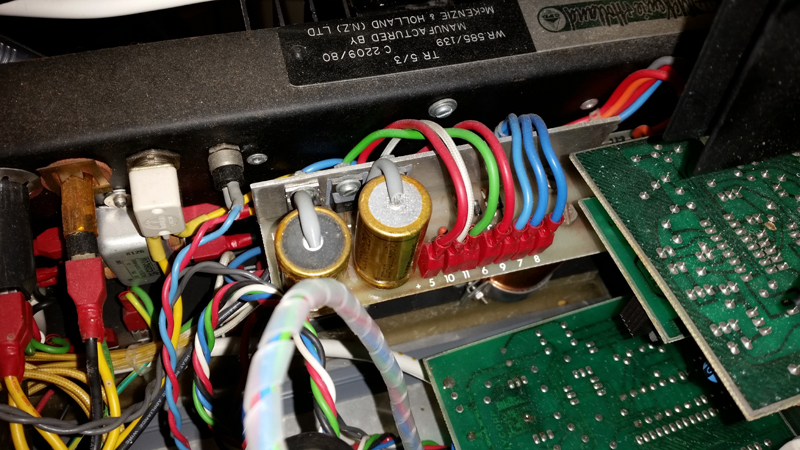
Figure 3. Cap on the right of the pair was seen leaking boiling fluid!
In the meantime the screen flickered in an alarming way, then just went black!
Replacing the capacitor(s)
After the machine cooled down I removed the board. You can clearly see the residue left from the explosive leakage (Figure 4).
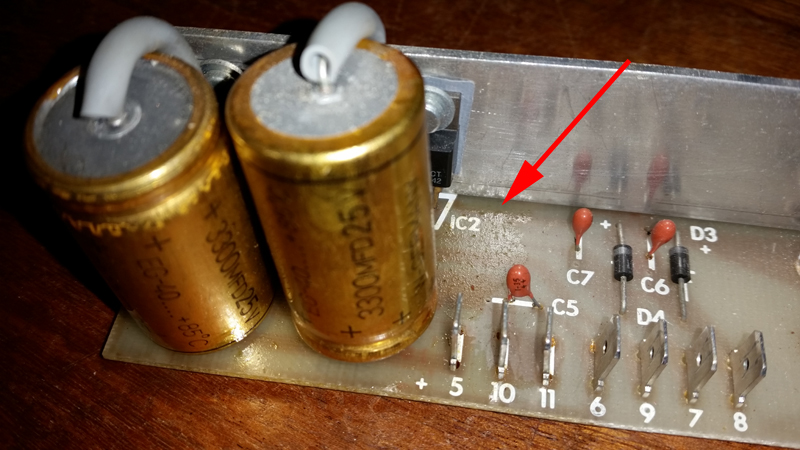
Figure 4. Residue left after a dramatic caps leak
This was cleaned up with alcohol and a cotton bud (Q-tip) and the old caps replaced with two modern equivalents (Figure 5). The cap on the left wasn't leaking but, as I was replacing one, I figured I might as well do the other while I was at it.
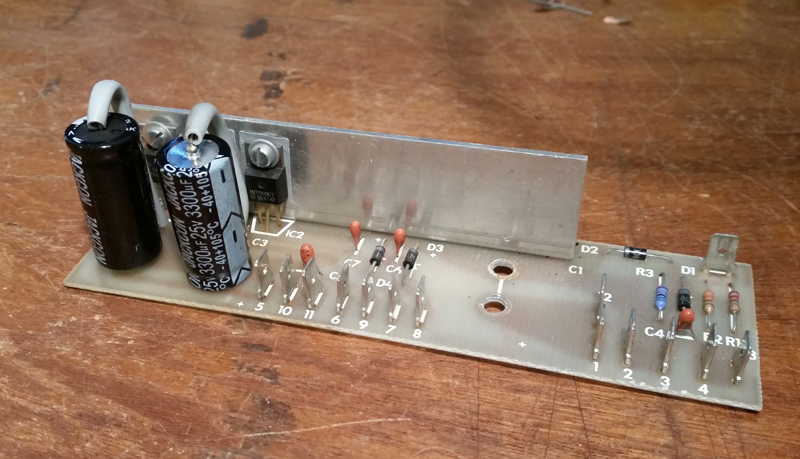
Figure 5. Replacement caps
It was a struggle to get this board out of the machine and I had to remove a number of cables and daughter boards to do it. It was even harder to reinstall. Why? It was bolted to the top of a large capacitor! What's more, there were washers between the board and the screw holes on the top of the capacitor. It was impossible to balance the washers on these tiny round metal rings and then maneuver the board onto them. To solve this problem I used the low-tech method on holding the washers in place on the board with some cellotape while I positioned it (Figure 6). It's not pretty but it worked. I couldn't remove the tape then of course, but I figured it wouldn't do any harm there.
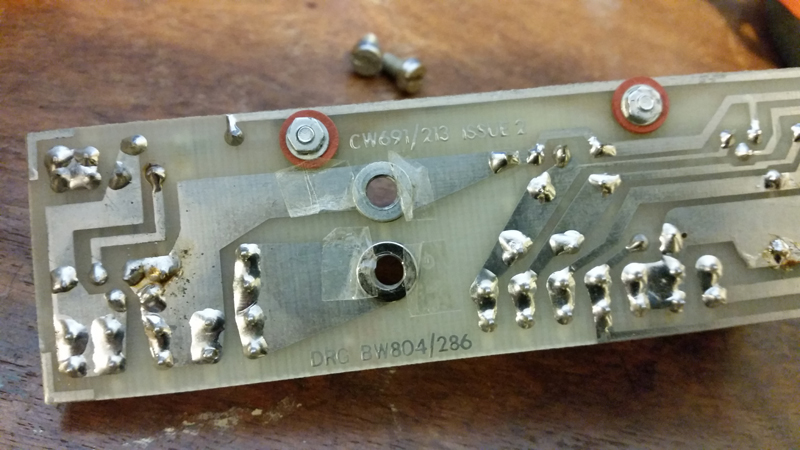
Figure 6. Low tech solution to hold some washers in place when screwing board onto the head of a large capacitor
So, the board was now in place (Figure 7) and the computer ready to test again. I flicked the switch hoping for (but not necessarily expecting) the best.
Figure 7. Replacement caps in place, ready for switch on
When the raster first appeared it was as shown in the image below (Figure 8). At least there was a "sort of" picture now and nothing was hissing at me! It seemed the horizontal hold needed adjusting. But where was it? I left the machine on and warming up as I peered at every board that was visible trying to figure out where that adjustment might be.
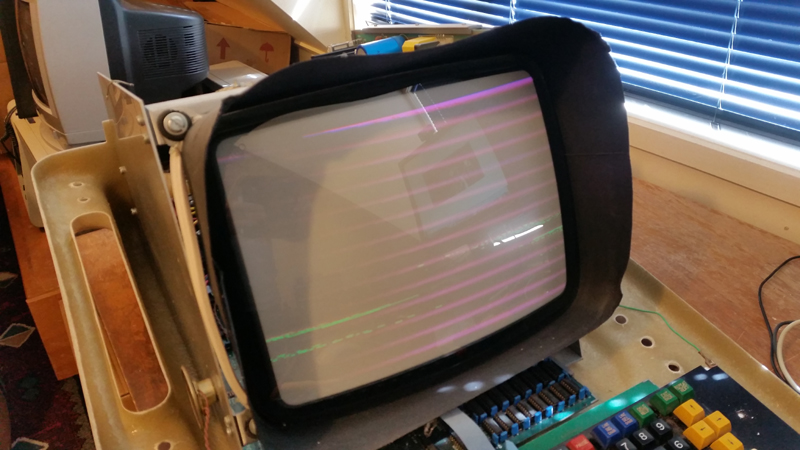
Figure 8. Screen immediately on switch on
In the meantime, the screen seemed to be getting more stable as the seconds passed (Figure 9).
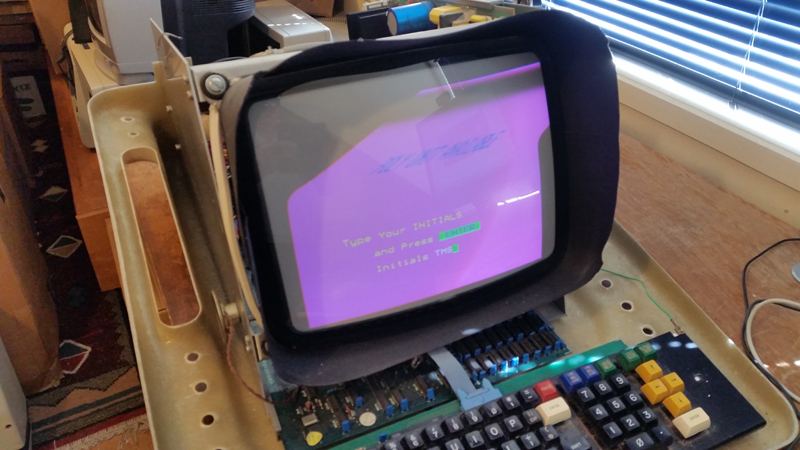
Figure 9. Screen 45 seconds after switch on
Eventually after a minute or so it just snapped into place (Figure 10). Great! It seemed stable at this point on, with no sign of flickering or instability...at least while the machine was warm.
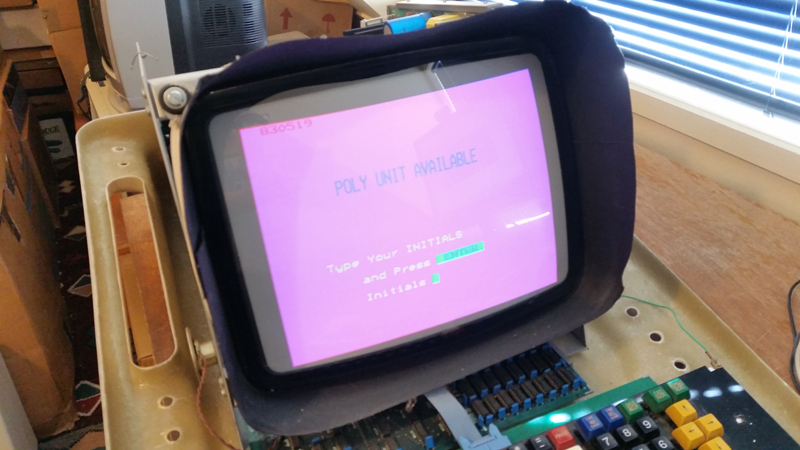
Figure 10. Stable screen once machine has warmed up
So far so good. The boot screen required me to enter some initials then (optionally) a password. I could do this easily with all letters (hence showing the keyboard works) but when I pressed ENTER, the results were different but always the same. The machine locked up showing different "garbage" patterns each time. Figure 11 shows two of them.
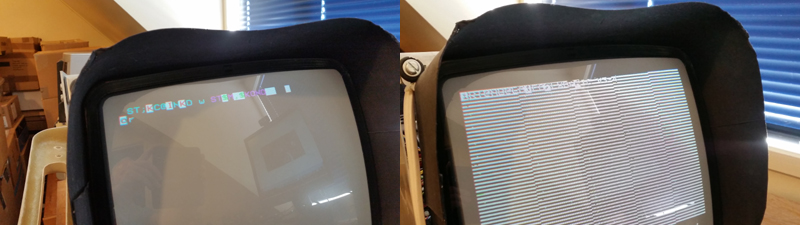
Figure 11. Random garbage once logged on
Hmmm...something else to diagnosis and repair. After a hibernation of 30 years this was not unexpected.
The garbage screen fix
My first thought was that a socketed IC needed reseating....and there were a lot of them in sockets. I removed the board (Figure 12) and painstakingly reseated each socketed IC.
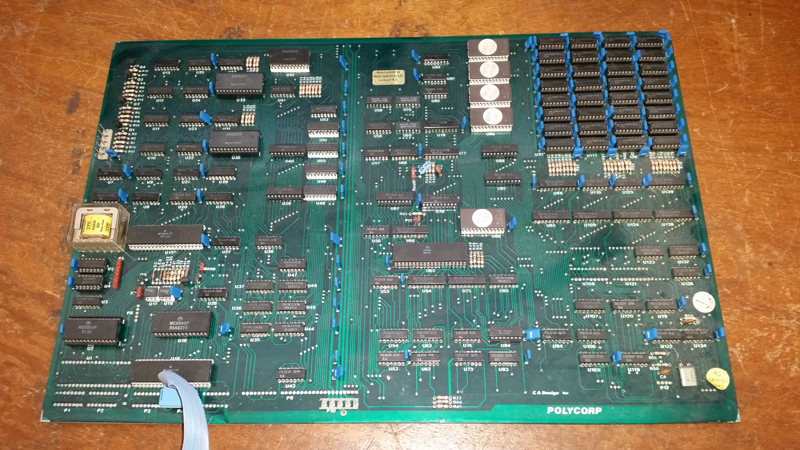
Figure 12. Poly 1 mainboard (click here for a larger hi-res image)
Did that work? No. Damn.
My second was thought that it might be RAM. The RAM chips are 4116 DRAM and these don't seem to age as well as later 4164 chips and up. Before breaking out the scope then, I checked the RAM chips by substitution. Luckily for me they were all socketed. Substituting 24 RAM chips is a long, tedious process though, as anyone whose done this on an Apple II/II+ can testify to. I went through them all one by one, hope declining with every substitution that failed to make a difference. Then with the FINAL chip substitution (and nearly all hope gone), success!! (Figure 13).
The final IC. If only I'd started at the other end!
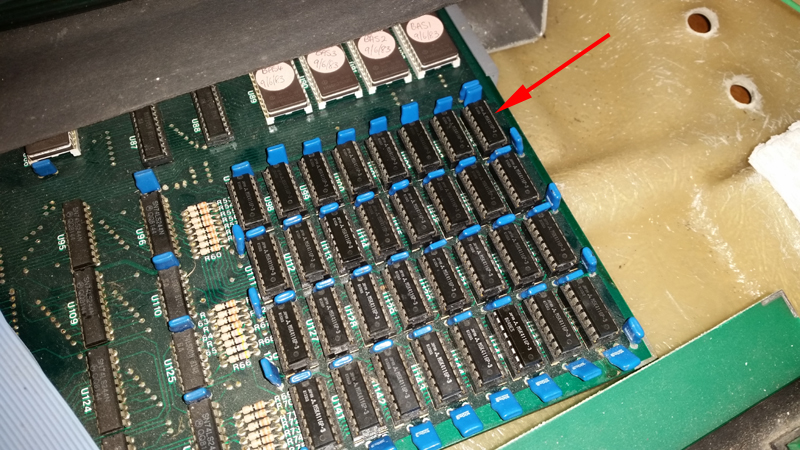
Figure 13. Arrow shows 4116 RAM IC replaced
The computer was now showing a stable, correct image. All characters could be entered and BASIC seemed to work (Figure 14)
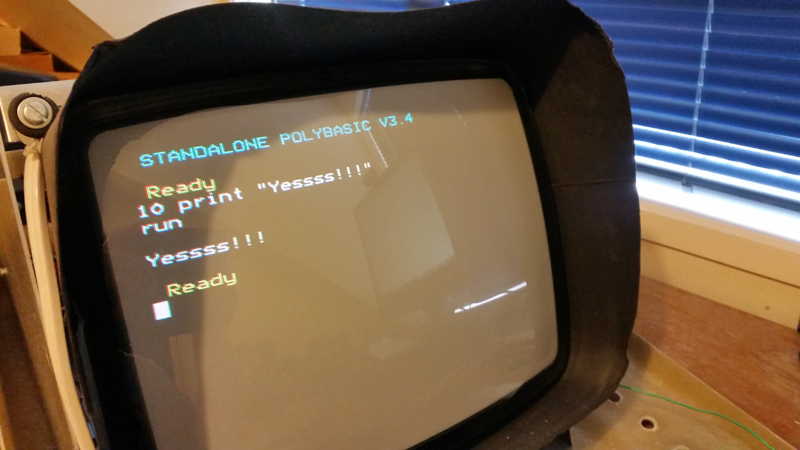
Figure 14. Situation normal (at last)
Further testing was done. In all, I had the machine juiced up for about 4 hours or so. I figure that's enough time for caps to warm up properly and to reform if needs be. The system remained stable all that time.
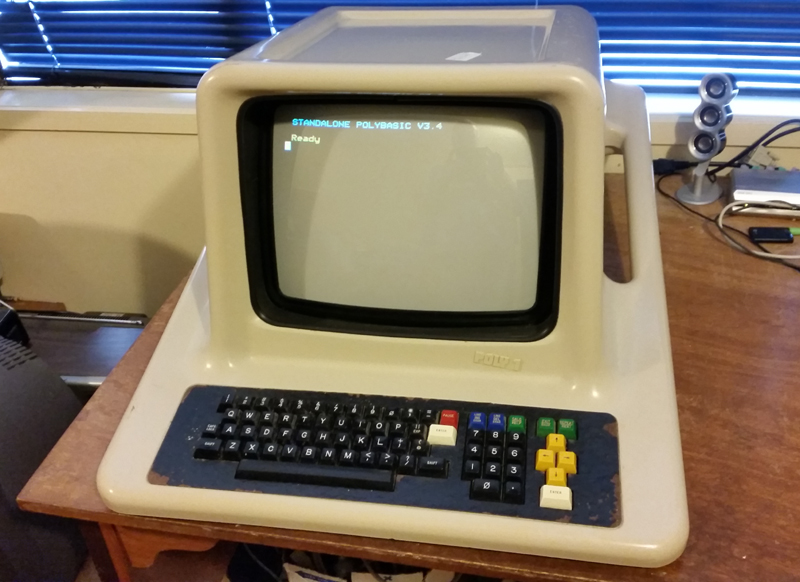
Figure 15. Ploy 1: Ready for some BASIC programming
Tidy-up work to come
There are two minor things I've yet to fix, which I'll tackle at some other time.
- When switched on from stone cold, the screen is still broken up as in Figure 8. It does take a minute or so until the screen stabilises. When switched on from warm, the screen is stable from the get go. I'm sure the horizontal hold just needs tweaking. I couldn't find it at the time and even the service field manual isn't much help.
- At one point the keyboard stopped working?? I tried my other Poly 1's keyboard and that worked. I thought the keyboard driver chip might have failed but testing it through substitution revealed it was neither that or the logic chip, which was the only other IC on the keyboard. Weird? This means it was either the wiring or the few passive components. Then, suddenly, it came right? It works fine now. Hopefully it stays that way, but I'm prepared for some fault-finding in the future.
Final thoughts
I was very pleased with the day's work. Although there is some minor work to do, I now have two working Polys. There are not many in that state in New Zealand. I've put them away for now as I've got other projects higher on the "to do" list. Some time later this year, I'll make those tweaks above, then move into the final phase of the Poly project i.e. testing the 8 inch disk drive/server, and networking the two as they would have been back in the day. If I'm successful, I record it on video for posterity!
Tez
9th January, 2017