I finally found some time over the Summer break to tidy up the PCB design for the daughterboard and get them manufactured. AllPCB did an awesome job. They are inexpensive, fast, and the online ordering system is excellent. Lots of options for blinging your PCB design out. http://www.allpcb.com
This is my first surface mount project to learn a new skill, and I even had a stencil made up (solder paste tubs still in the post). So I'm trying out a few different soldering techniques for building the boards.
I started off with hand soldering late Friday night. That is bloody slow work with surface mount components, but my technique is improving. I couldn't find the bloody 100nF capacitors I'd ordered. On Saturday morning I figured out that was because they had actually sent me 220nF capacitors. That's probably fine for everything except the RC reset timer on the LM1881 which is used to mark out the colour burst etc. on the back porch (actually I can't remember what it is for, but a 200nF capacitor gives a RC time constant twice what a 100nF capacitor does, so probably not good).
Unfortunately when I turned it on there was a bang, lots of smoke, and the 22uF tantalum capacitor at the bottom left of the board had exploded and shorted out. It also took out the fuse on the SC-3000, and a couple of components on the PCB - one of the AD826 op-amps and the LM1881 sync seperator. Bugger. The incoming voltage is actually a 100Hz wave between about 9v and 11v from the DC power pack. That is what Sega passed to the original board. I'd hoped that would be within the 16v limit of the surface mount capacitor I used, but obviously not. Either that or I reversed the polarity, but I don't think so. It was a bit hard to tell after it went poof.
I cleaned that up, replaced with a 35v electrolytic cap, and started debugging the other broken bits on the PCB for the next few hours. Finally got it working correctly this morning after replacing both the LM1881 and the CD4066.
So - see lots of attached photos
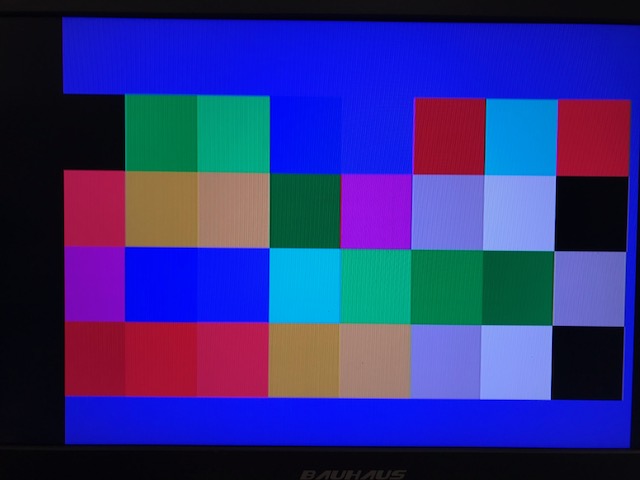
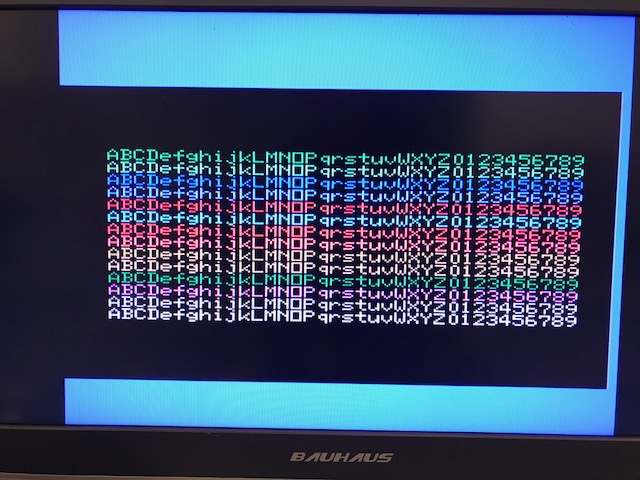
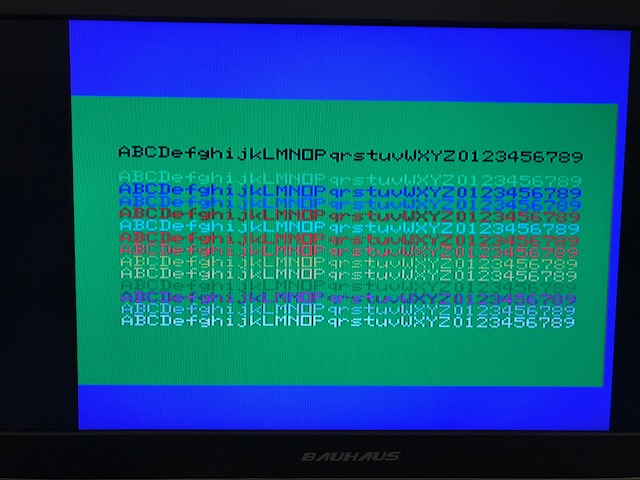
You can see the test pattern and test blocks of text with different colours. The colours look better on-screen than that (the photos are a little washed out). Still, performing pretty much as designed so I'm happy.
Finally, I want to say a massive thank you to Natshaw for kicking this project off, and pointing me in the right direction about a year back with a link where someone else had solved the colour burst issue that was giving bad colour mixes. And to everyone else who has shown an interest. Kevman - pm me and I'll arrange one for you to try out.
I may make a couple of follow up posts with some oscilloscope images when I have time.
Cheers
All PCB Box containing lotsa goodies
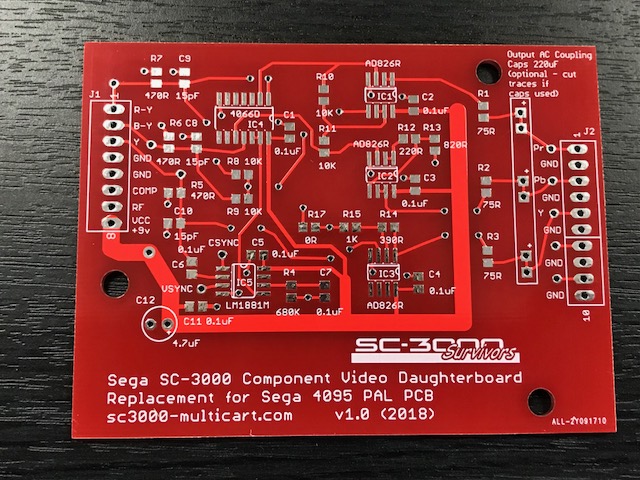
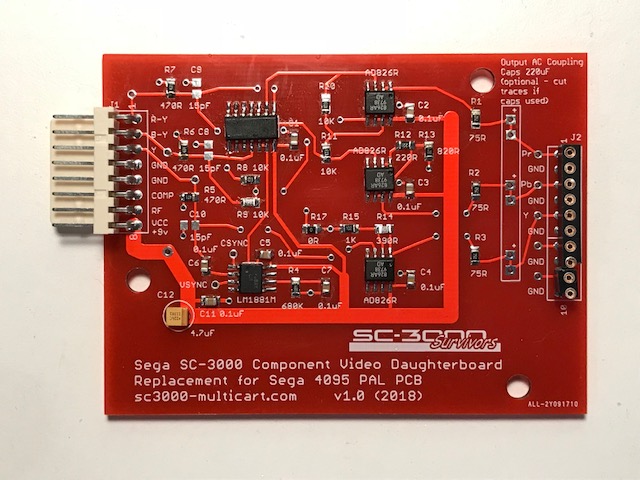
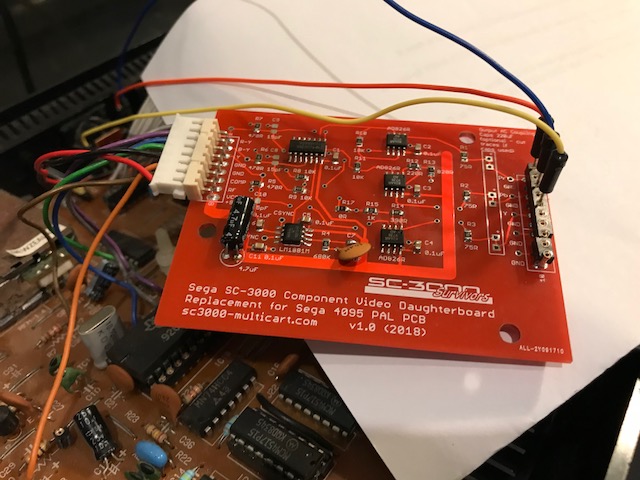
A thing of beauty - the Sega SC-3000 Component Video daughterboard PCB, replacement for Sega 4095 PAL PCB
First assembly with the tantalum capacitor at bottom left
BOOM! That didn't work so well...
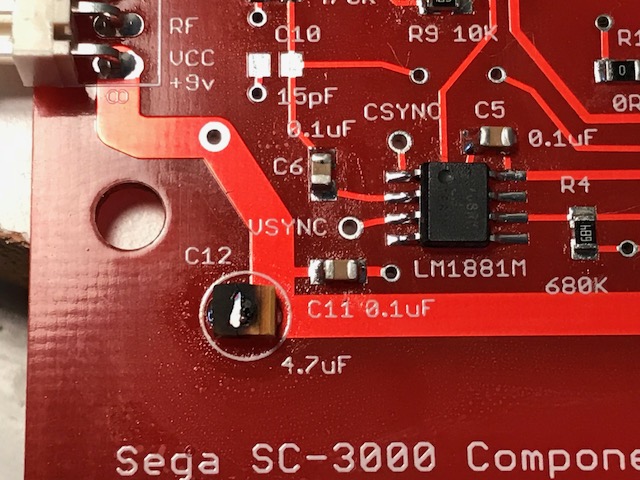
Fixed it - assembled and working. Had to replace capacitor, one AD826, the LM1881 and CD4066 (and SC-3000 fuse)
Test Patterns! The photos are a bit washed out - it looks better in real life